Select Account Groups in Engagement Dashboard Columns
Updated
Engagement Dashboards provide a customizable display of content from which you can view, engage, respond to, and take action on the content. Engagement Dashboards content is organized into columns. The configuration of engagement columns controls the content that is displayed in a given dashboard.
To Create a Column in Engagement Dashboard Columns
Click the New Tab icon
. Under the Sprinklr Social tab, click Engagement Dashboards within Engage.
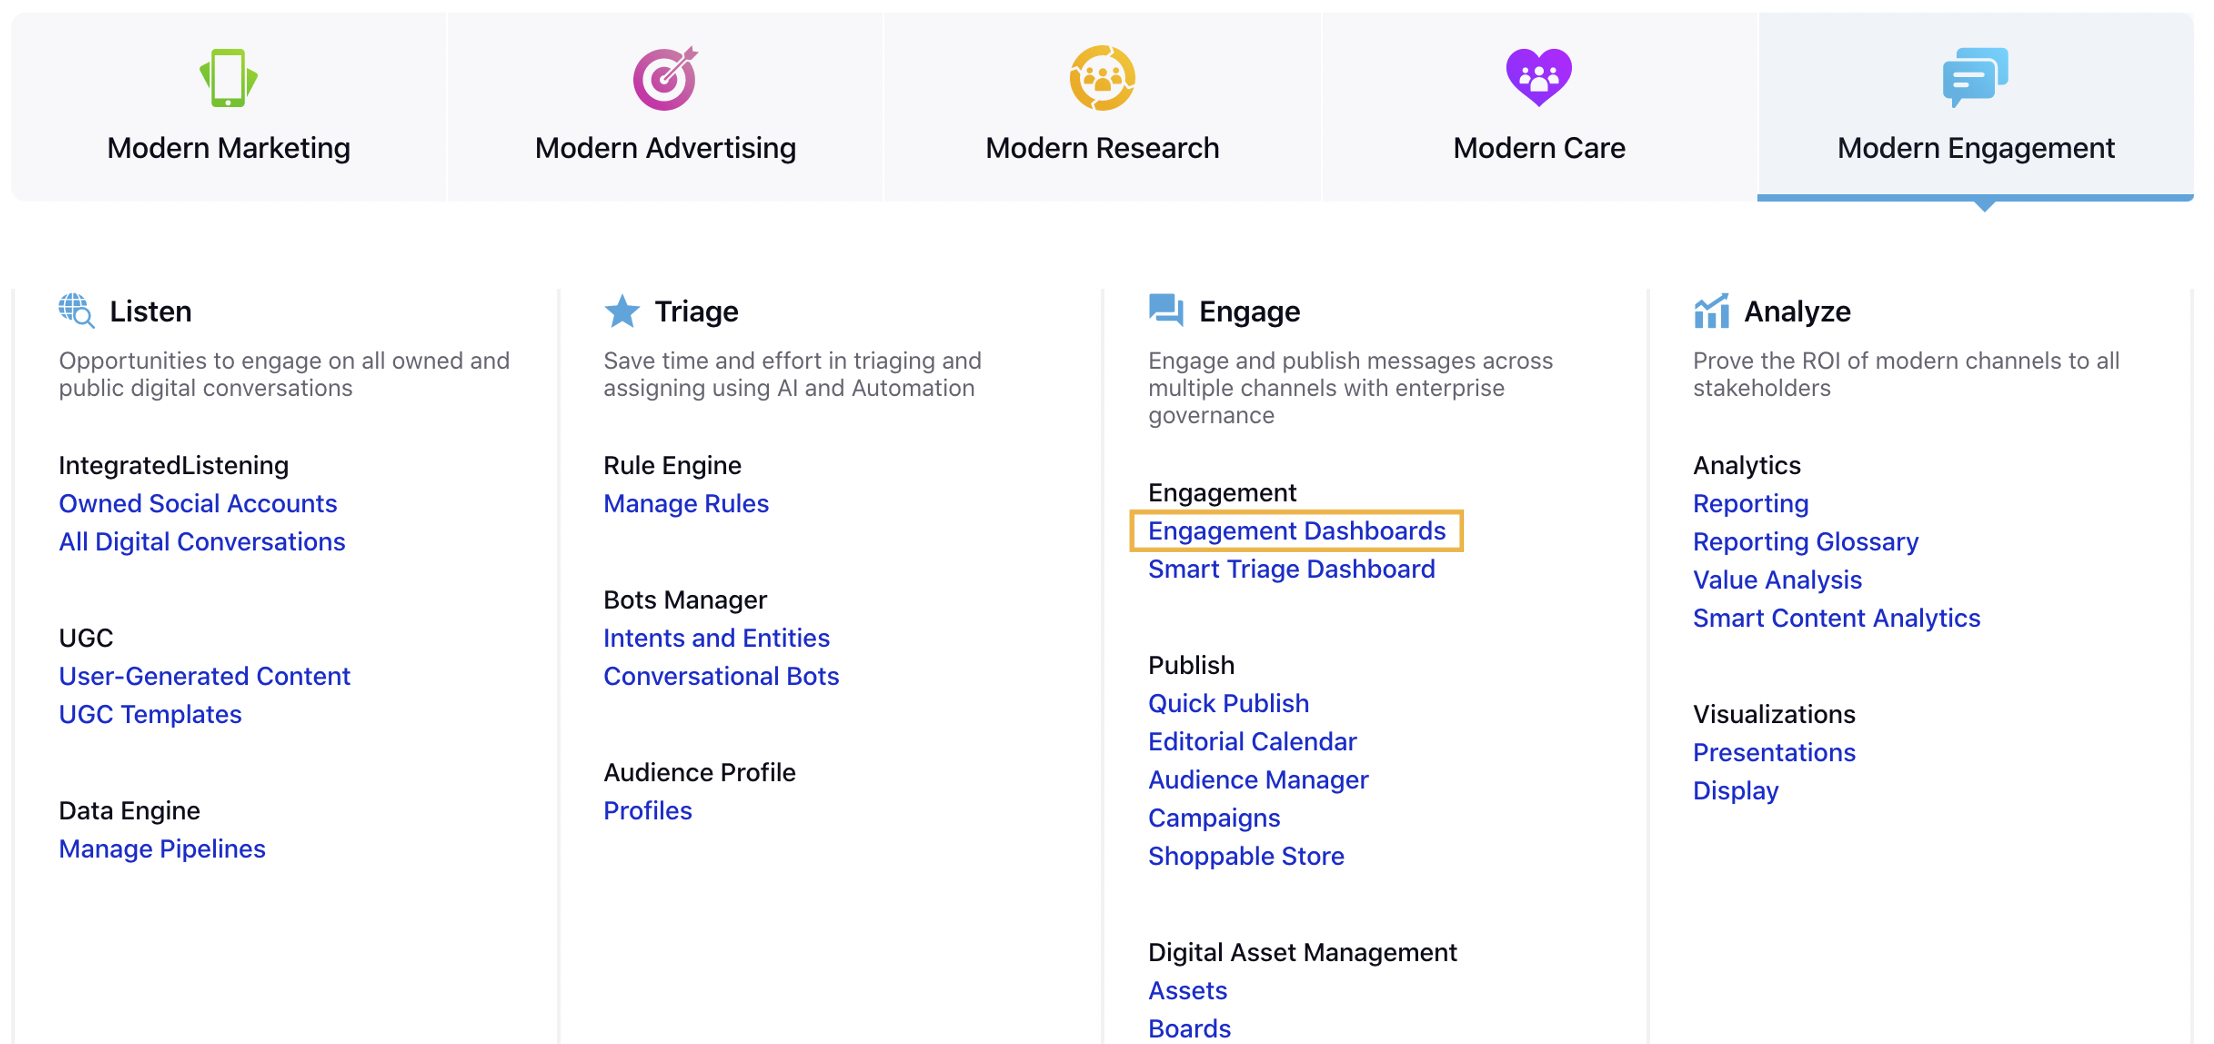
In the Engagement Home, search & select the desired engagement dashboard. Note that within Engagement Home you can access all personal and shared Folders and Dashboards.
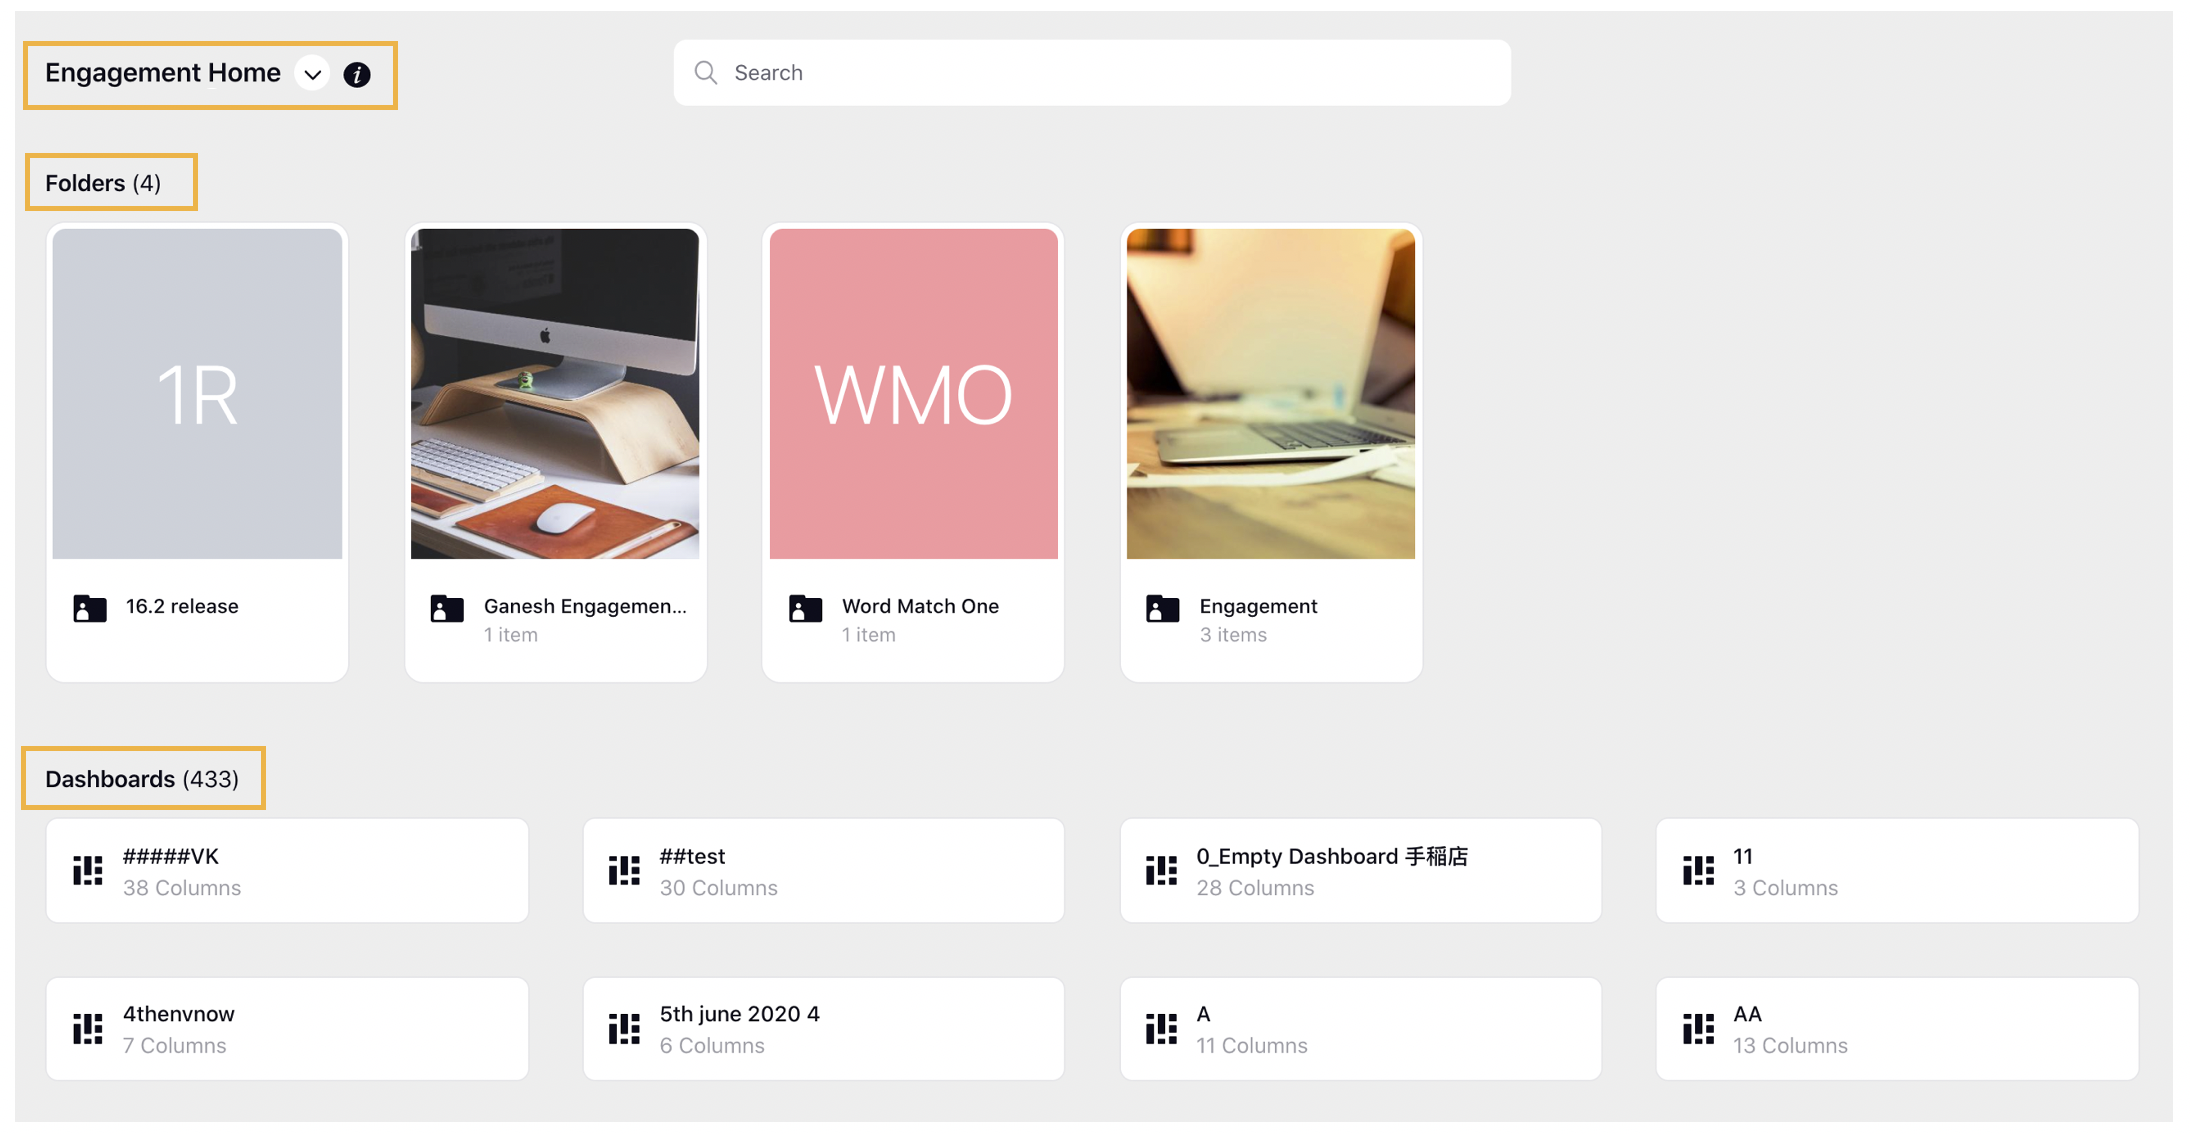
In the desired Engagement Dashboard, click Add Column in either the top right corner of the Dashboard or in the middle of the Dashboard.
In the Add New Column window, search and select a Source from the available column category icons for your new column.

Next, select the desired Column Type. The column types available will depend on the column category you selected.
After selecting the type of column you want to create, enter a Name and Description in the given fields.
Under Accounts, select the accounts or account groups per your needs.
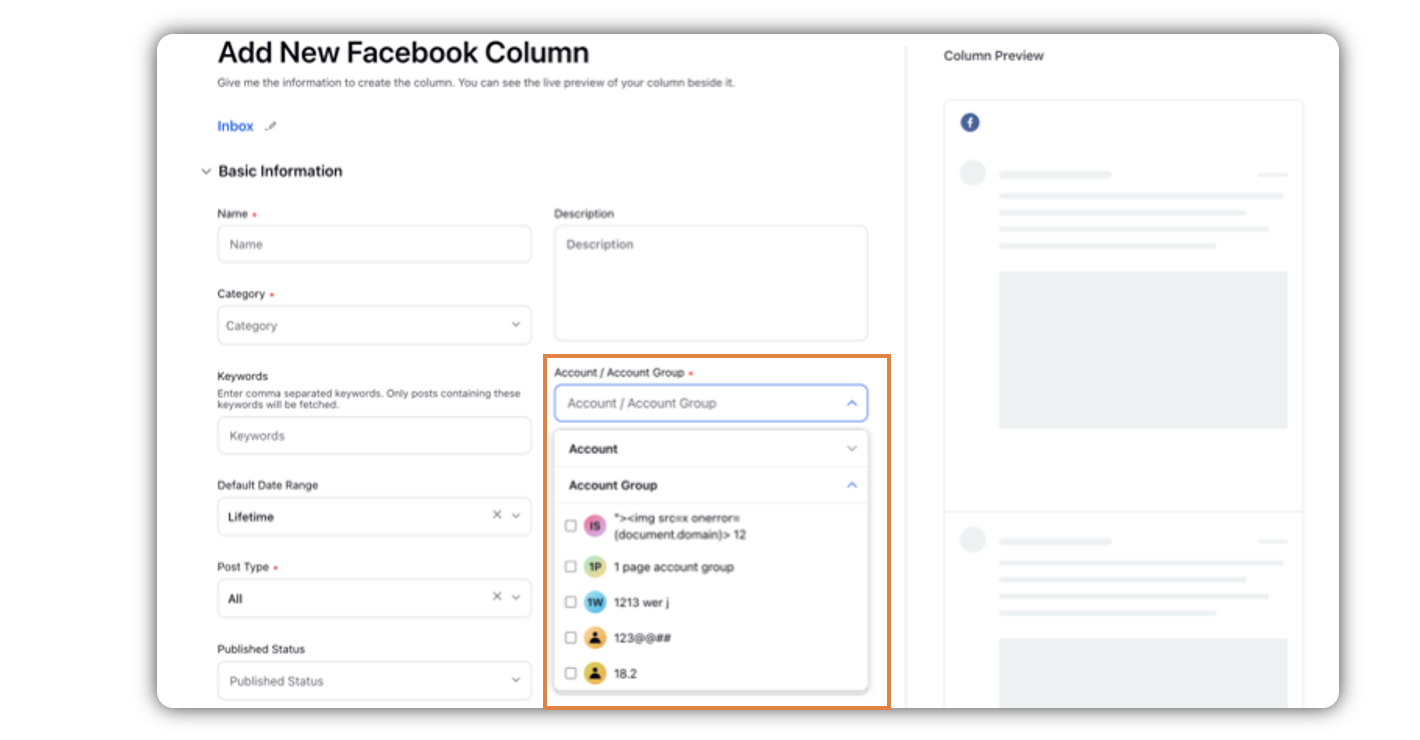
 Note: The capability to add account groups while creating engagement columns is Dp controlled. Get in touch with your Success Manager to get this capability enabled.
Provide other Basic Information for your column. A preview of the column will render on the right side of the window.
Enter Workflow Properties as desired. Workflow properties refer to the properties applied in Sprinklr, either automatically or manually, that determine the message's workflow status, user assignment, priority, Spam designation, and sentiment.
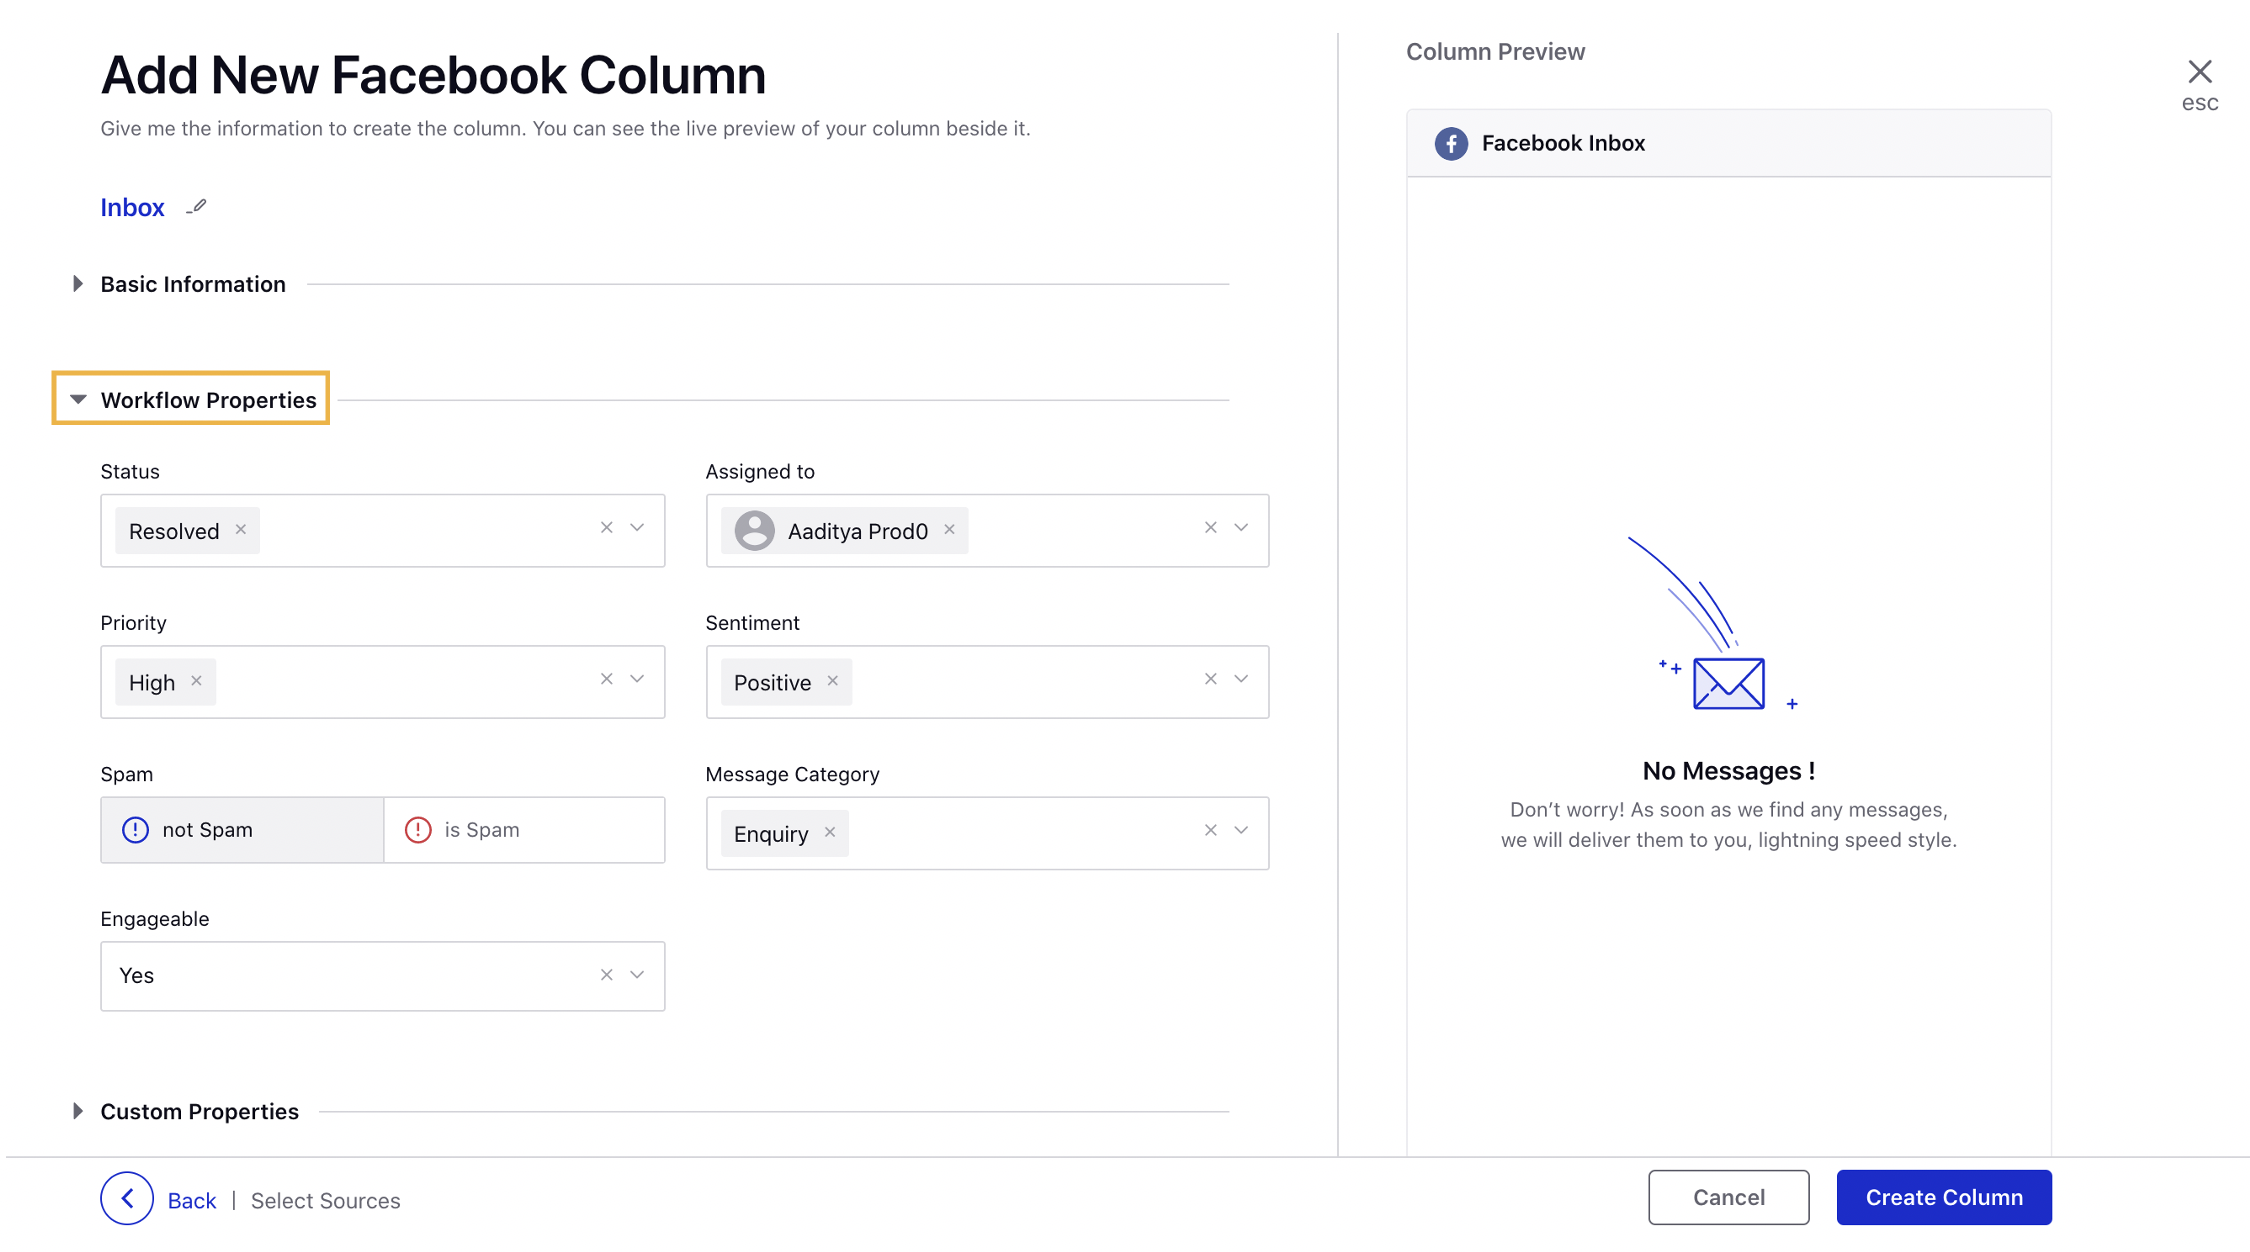
Provide Custom Properties as desired. Configuring additional properties, you can specify messages to include or exclude based on the properties that have been applied to the message.
Next, provide Channel Custom Properties as desired. Configuring additional channel properties, you can specify channels to include or exclude based on the properties that have been applied to the social channel. Note that this step is dependent on the channel.
After you've provided all the details for your column, click Create Column in the bottom right corner to create the new column. Upon creation, your column will be available in the current dashboard.