Actions on Nodes/Elements in Journey Facilitator Canvas
Updated
Multiple Actions are allowed on different nodes or elements in the Journey Facilitator Canvas
Add New Node
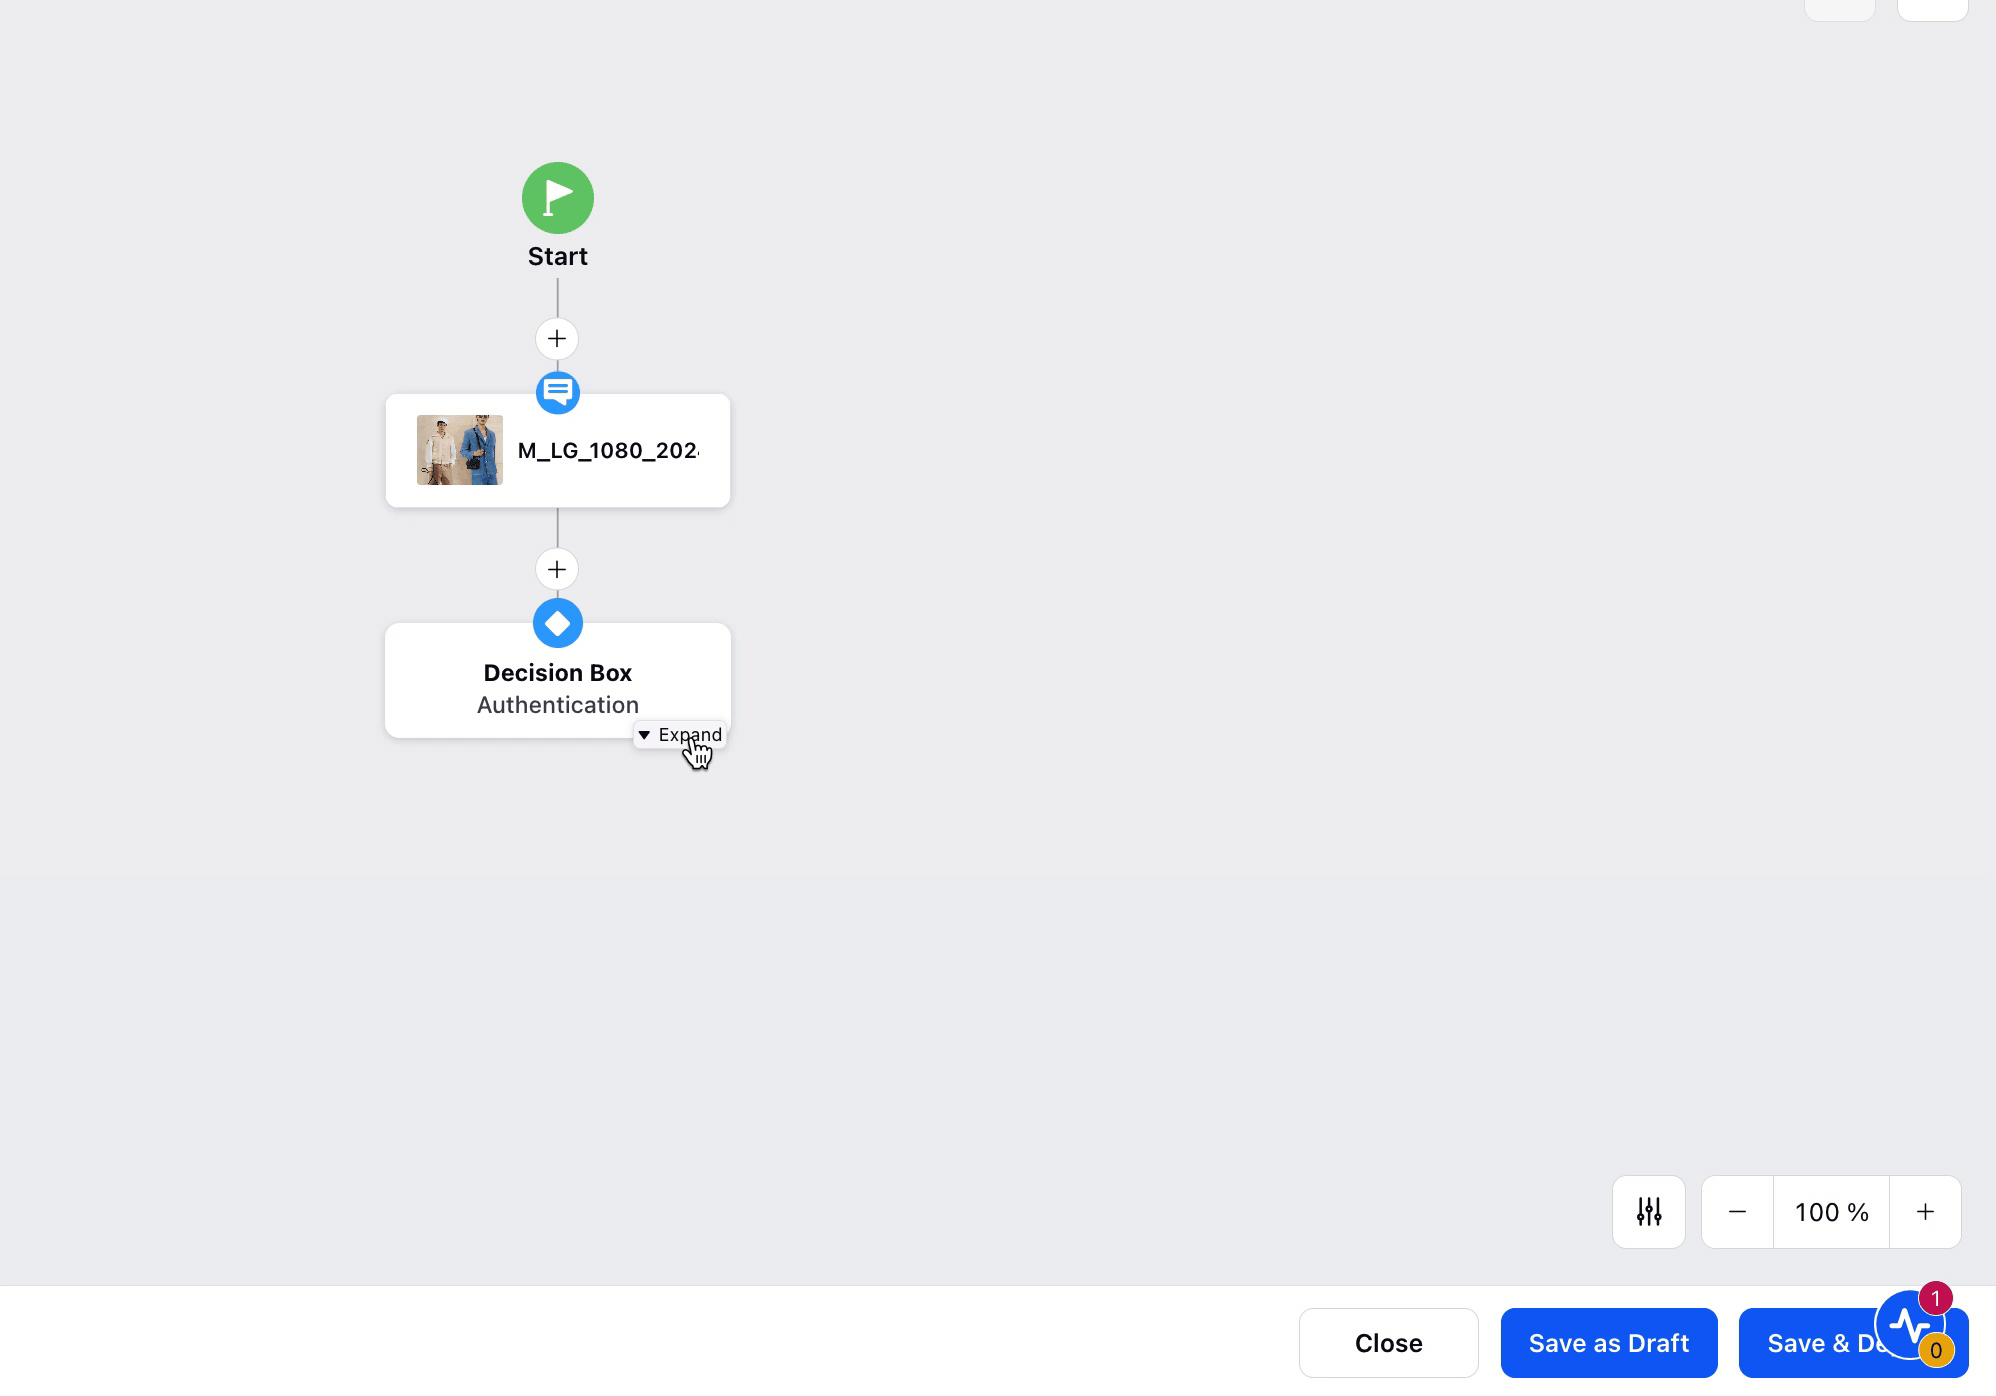
To add a new node between two existing nodes, click the Addition icon between the existing nodes and select the desired node.

Actions on Nodes
Hover over to the top right of any element/node and you will find 3 options

1. Edit Element (Pencil Icon): Can be used to edit an existing node
2. Delete Element (Bin Icon): Can be used to delete an existing node
3. More Actions (Three dots): Has following options
Delete Element With Subtree - Delete the element along with all the elements beneath it.
Move Element With Subtree - Move the element, along with all the elements beneath it, to the end of the other branches.
Move Single Element - Move the element anywhere in the structure except one step below or above this particular node.
Copy Element With Subtree - Copy the element along with all the elements beneath it and paste it at the end of the last node.
Copy Single Element - Copy any single element to paste it anywhere in the structure.
Toggle Skip Node - Click this option to skip the node in a dialogue tree.
Disconnect Subtree
Disconnect the element along with all the elements beneath it. You can connect it back if needed.

Expand/Collapse Branches
You can collapse and expand branches present in the Canvas, define the initial flowchart view, and specify the view when "Expand" is clicked.