Set Up and Integrate RSS Feeds in Sprinklr
Updated
You can fetch the updates of a website by using RSS (Rich Site Summary) feeds. Any new update on the website can be published on the native social media channel via Sprinklr through the respective social media account.
Steps to Add an RSS Feed
Click the New Tab icon
. Under the Platform Module, click All Settings within Listen.
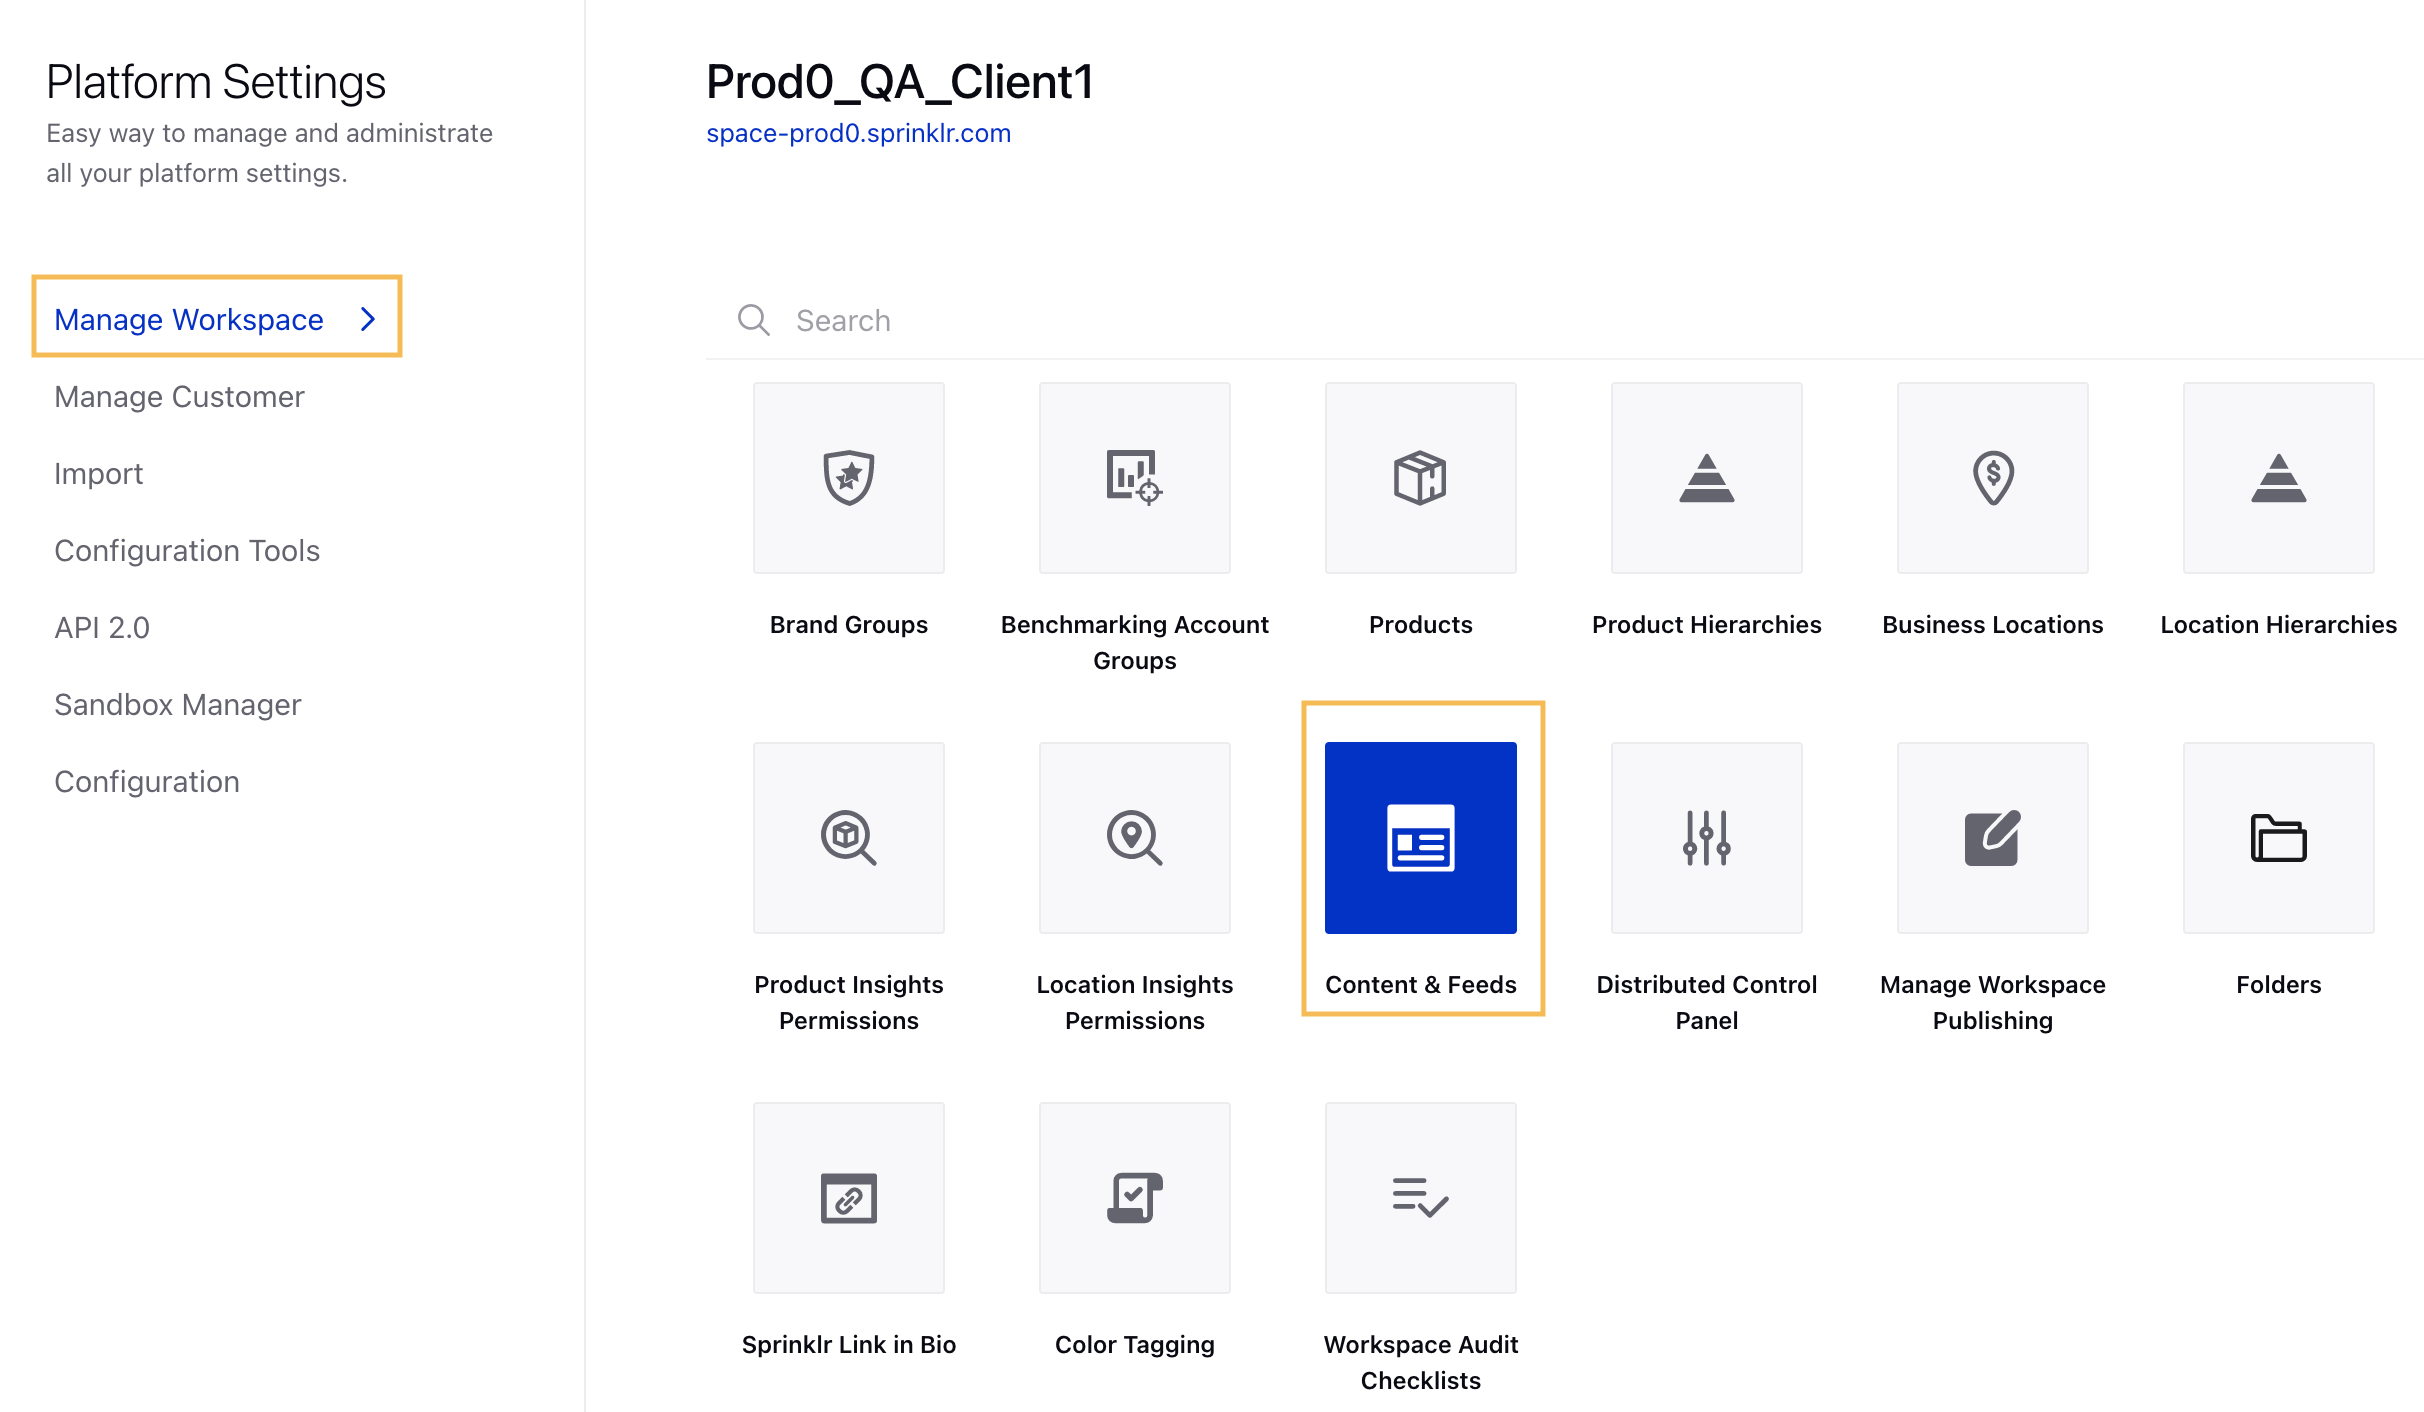
In the Platform Settings window, click Manage Workspace and select Content & Feeds from the list of options. You can also search for it in the search bar above.
In the top right corner of the Content & Feeds (Settings) window, click Create RSS Feed
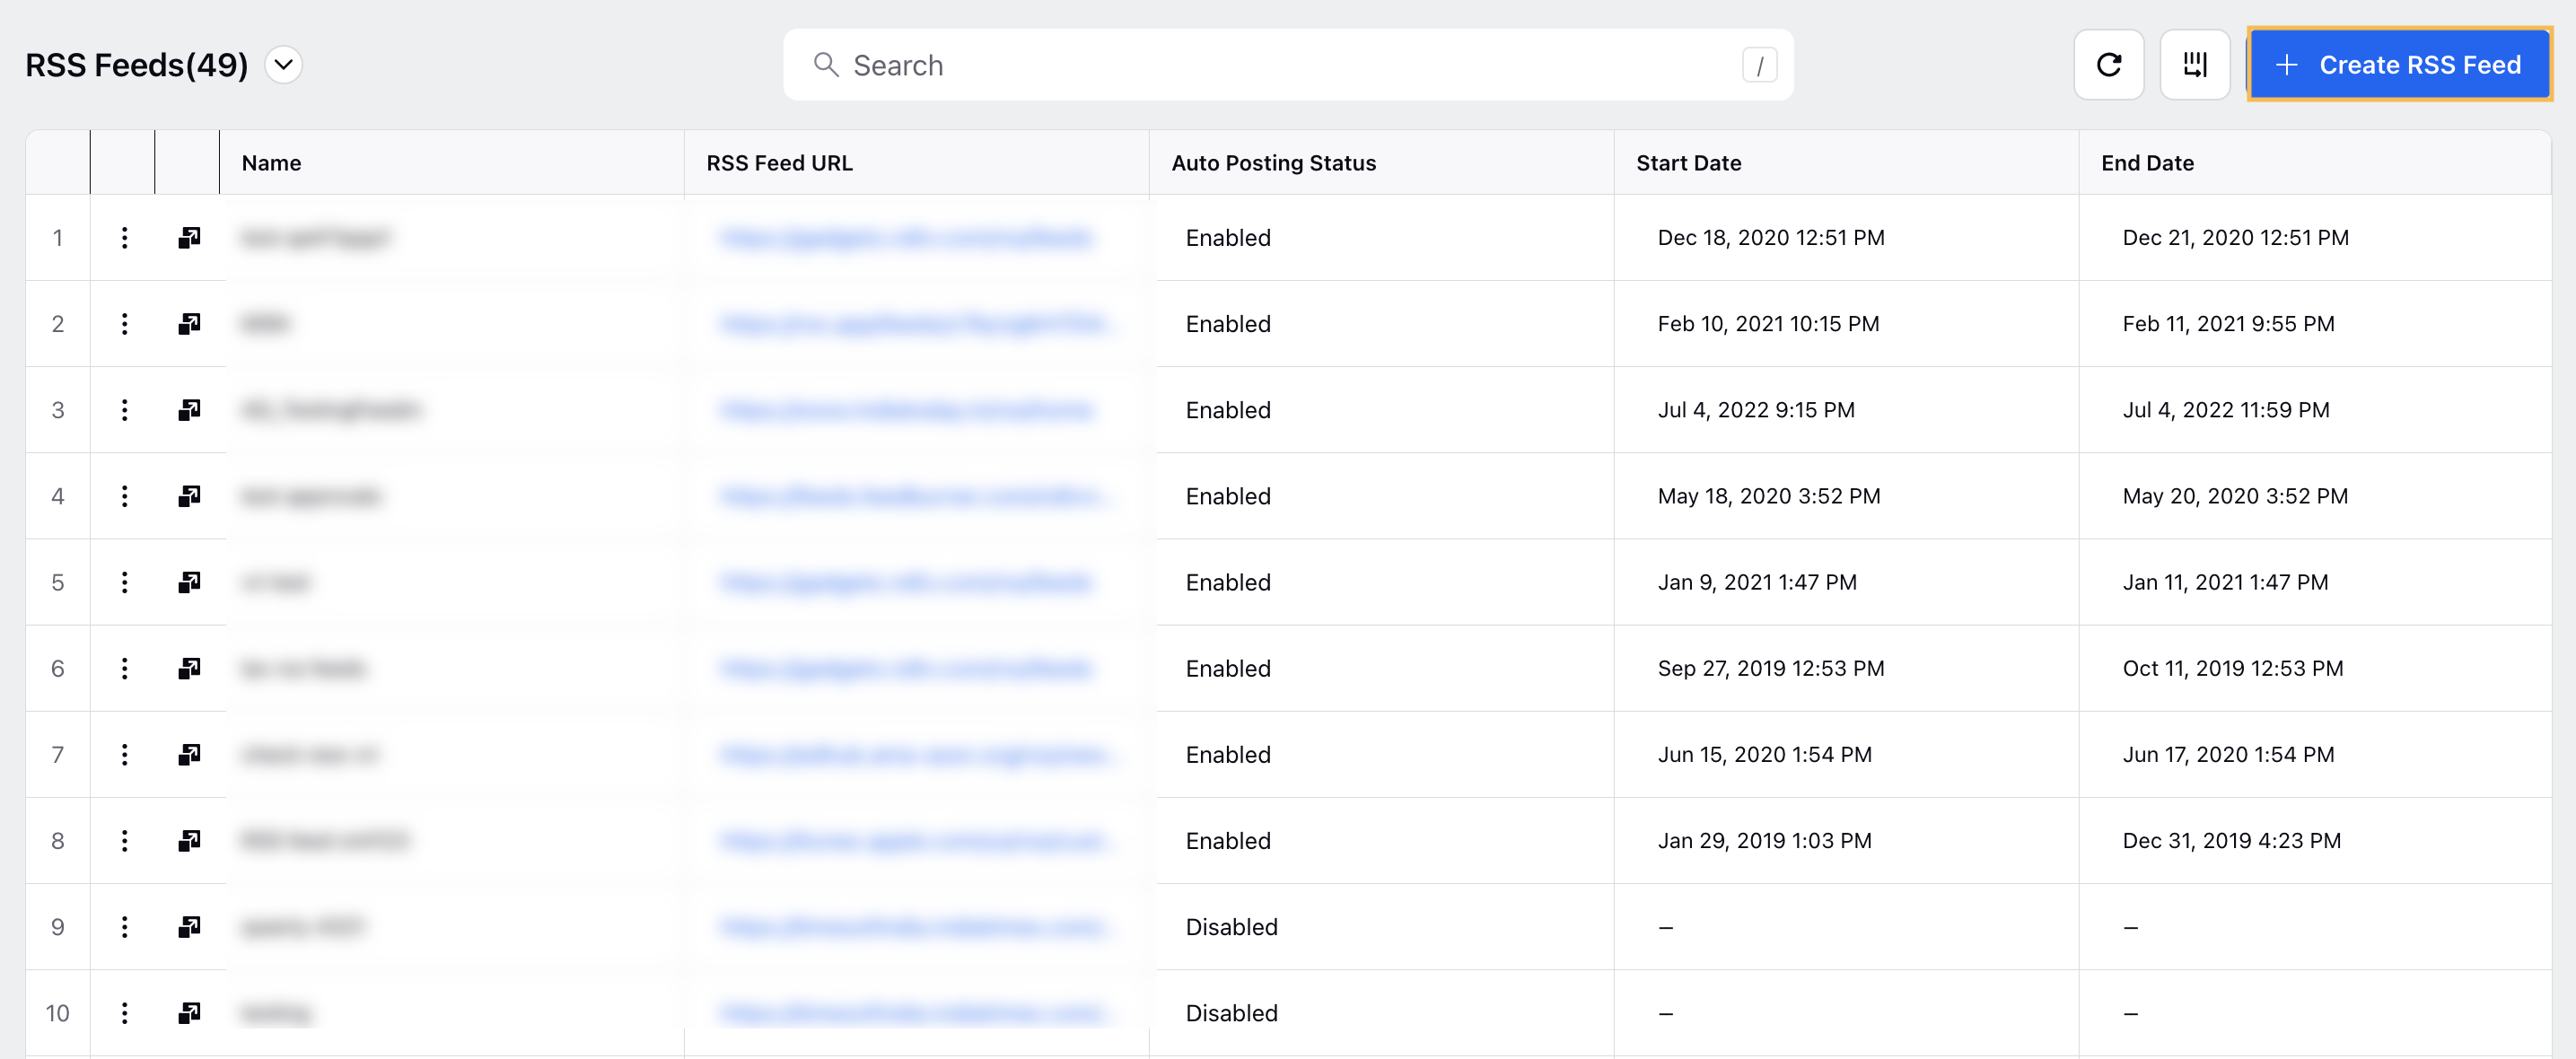
On the RSS Feeds window, enter the details. For more information, see RSS Feeds—Field Descriptions.
Click Save in the bottom right corner to confirm your changes.
RSS Feeds—Field Descriptions
Field | Description |
RSS Feed Details | |
| |
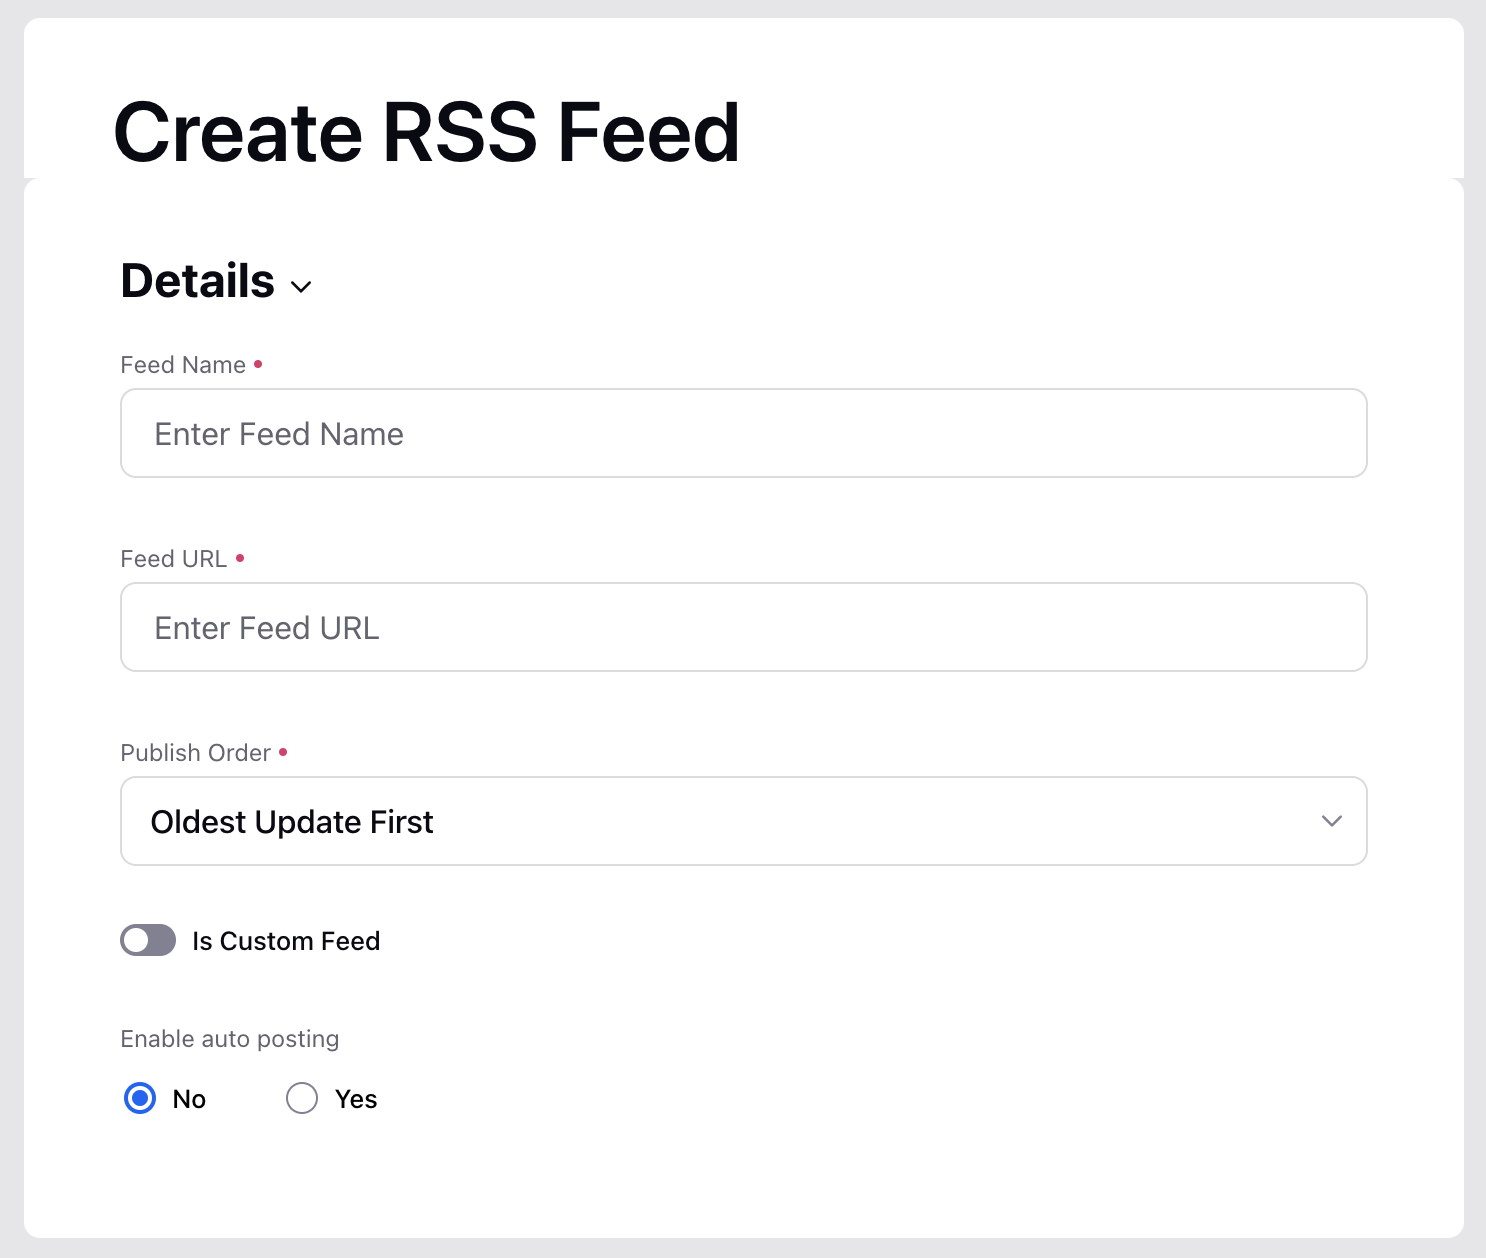
Feed Name | Enter a unique name for the feed. |
Feed URL | Enter the RSS feed URL. |
Publish Order | Select the publish order from the drop-down menu. The following options are available:
|
Is Custom Feed | Toggle the icon if it's a custom feed. |
Enable Auto Posting | Select to enable auto-posting. |
Content | |
| |
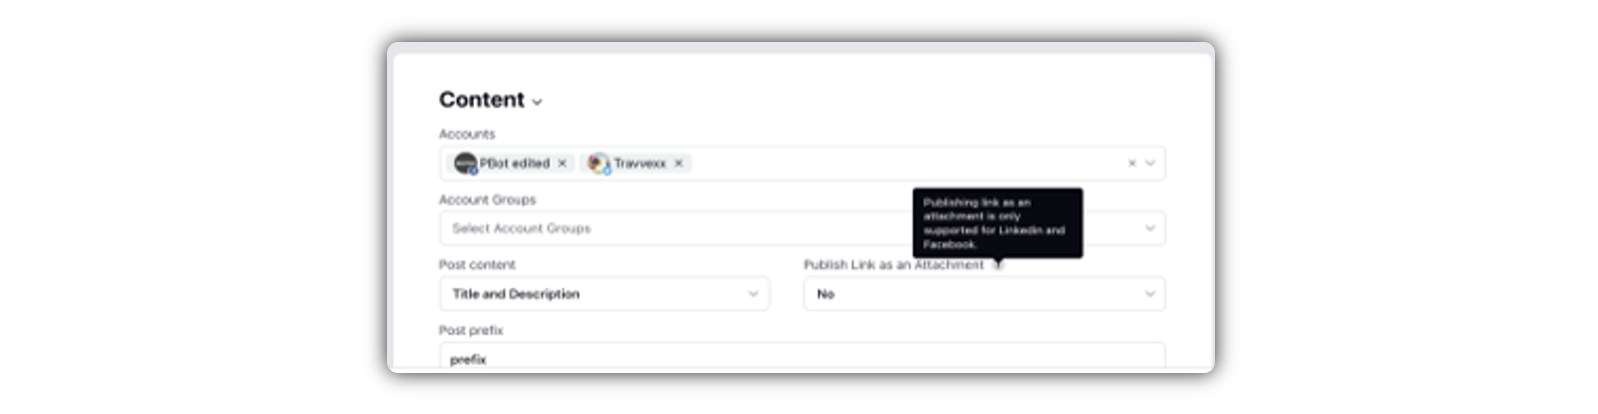
Accounts | Select the desired accounts from the drop-down menu. |
Account Groups | Select the desired account groups from the drop-down menu. |
Post Content | Select one of the following options:
|
Publish Link as an Attachment | Select to send the feed URL as an attachment. (This is only supported for Facebook and LinkedIn.) |
Post Prefix | Type a string that will appear in the post before the beginning of each feed. |
Post Suffix | Type a string that will appear in the post at the end of each feed. |
Date Filtering From | Specify the date range to fetch the RSS feed from the URL. |
Date Filtering To | Specifying the To date picker. Note that this field is optional. |
Time Filtering | Click and drag to select the Time Filtering. It will only fetch the feeds for the time that you have selected. Any feed that occurs beyond the selected time will not be considered for fetching. The following are the options that you can select when you click on the highlighted time filter: |
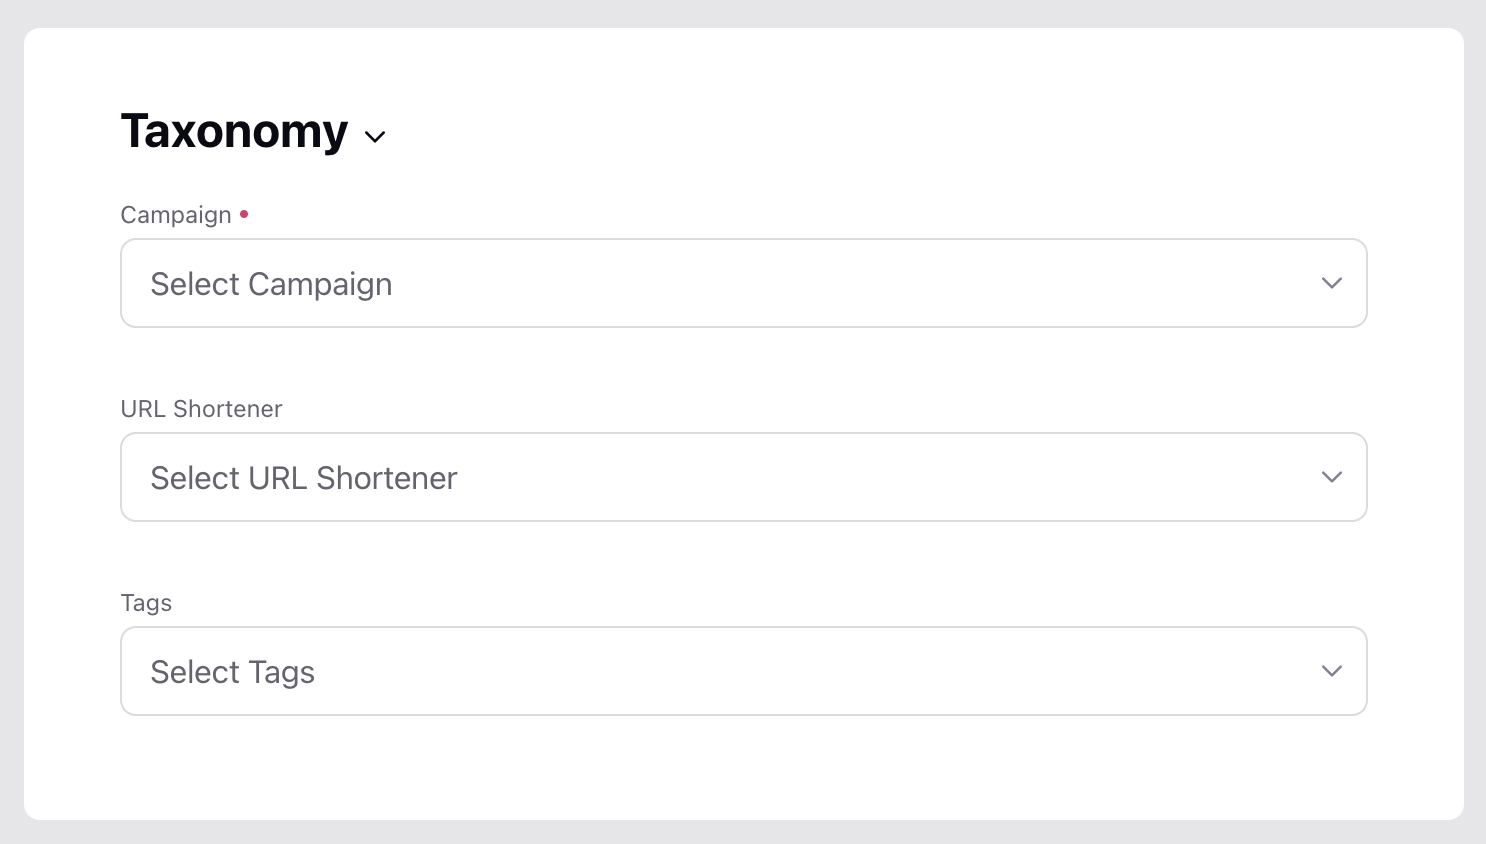
Taxonomy | |
| |
Campaign | Select the campaign from the drop-down list. |
URL Shortener | Select the URL shortener from the drop-down list. |
Tags | Type a tag or select from the existing tags in the list. |
Outbound Custom Fields | Select the respective outbound custom field values. |
Scheduling |
Date | Select the Start and End Dates. |
Time Zone | Select the Time Zone. |
Scheduling Info | Click and drag to select the Scheduling Info duration. It will only post the feeds for the time that you have selected. Any feed that occurs beyond the selected time will not be considered for posting. The following are the options that you can select when you click on the highlighted time filter: |
Frequency | Set up the frequency of the post. |
Notification | |
Notify if published | Select the account(s) that will be notified for each post that gets published. |
Notify if failed | Select the account(s) that will be notified for each failed post. |