Right to Erasure Cases
Updated
Right to Erasure Cases can be used to delete available customer data across all data sources.
The Right to Erasure Cases section of Privacy Cloud will help you comply with Data Subject's right to be forgotten as defined under GDPR, meaning, the right for their personal information to be deleted from Sprinklr.
Navigate to Right to Erasure Cases
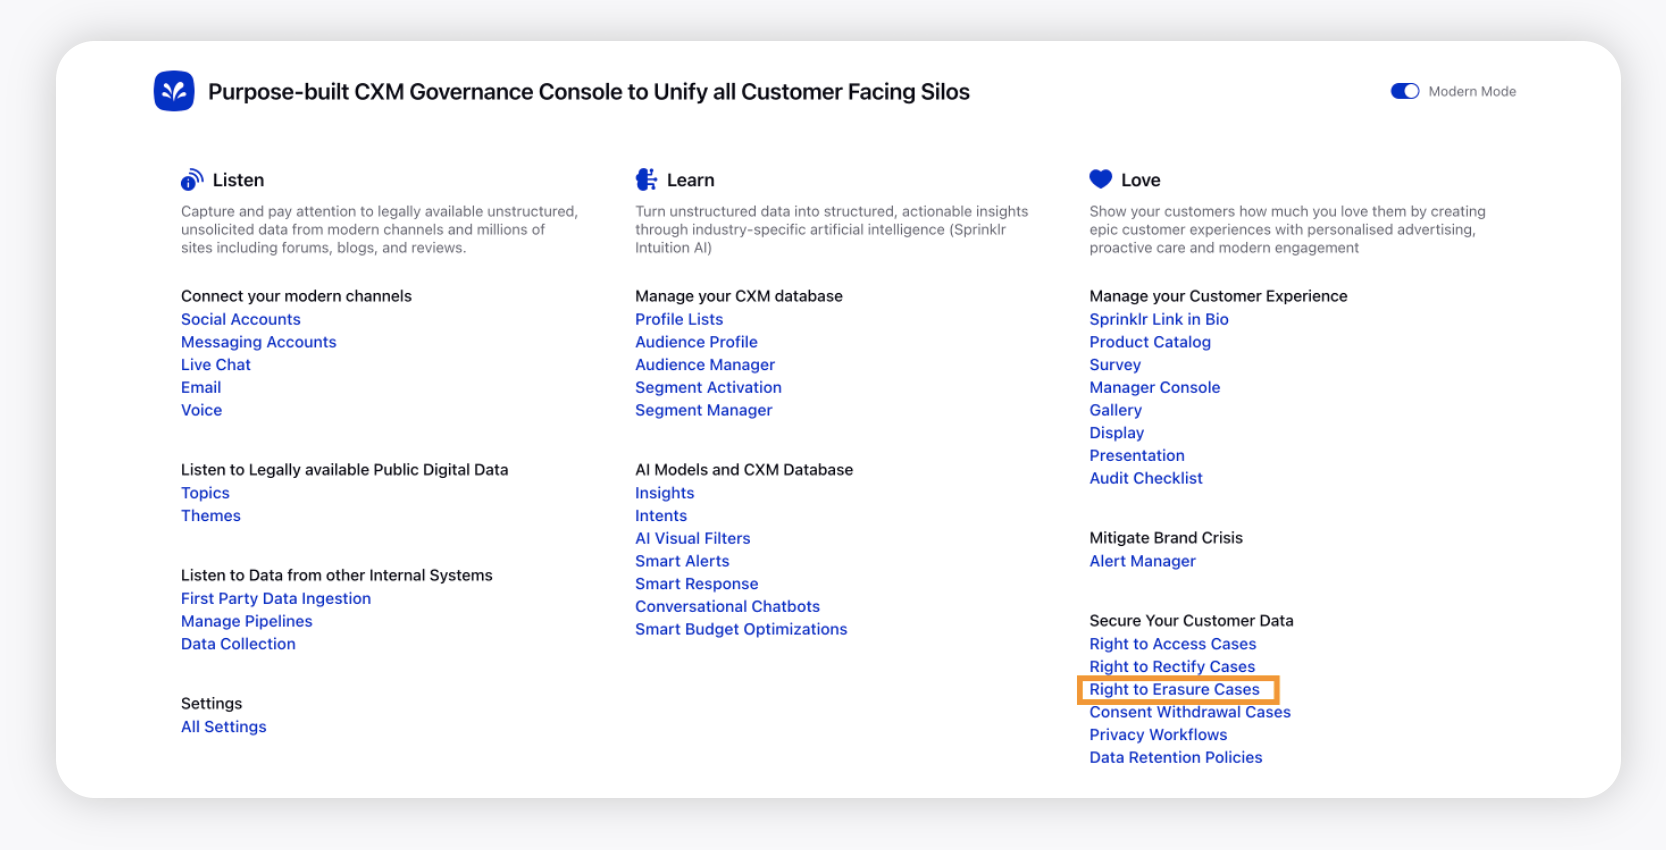
Click the New Tab icon
. Under Governance Console, click Right to Erasure Cases within Love.
On the Right to Erasure Cases window, click Create New Right to Erasure Case in the top right corner.
On the Create New Right to Erasure Case window, enter the details as explained in the table below.
Select Create Case in the bottom right corner.

Term | Description |
Unique Internal Request ID | You may insert any reference number to track this request. |
Reason for requesting erasure of CXM Data | Description for why such request is being executed. |
Channel Name | Select the source from which the Data Subject's details exist within Sprinklr (ex. Twitter). |
Profile Identifier | The numeric ID or handle. For channels like Twitter or Instagram where handles exist, you can use the handles. If using an email address here, enter the email as is (ex. user@sprinklr.com). For example, to get all the data for the Sprinklr profile on Twitter (twitter.com/sprinklr), you can use sprinklr or 75263523 here. (75263523 is the numeric ID for the Sprinklr profile on Twitter, which can be found on this site). |
Properties | Status Choose from your existing Case Statuses. Priority Select a Priority. Tags Free-form text field to enter tagging. Case Type Choose from existing Case Types. Due Date Select a Due Date for the Case. Assigned To Select a Sprinklr user to assign this Case to. Sentiment Choose from Sprinklr's Sentiment options (Positive, Neutral, Negative). |
Custom Properties | |
Collaborators | Summary: Insert an optional Summary. Queues: Choose from any of your existing Case Queues. Subscribers: Add Subscribers to the Case. Comment: Add Comment for Subscribers. |
Applying the privacy workflow
Once the Case has been created, double-click the case to see the details and apply the Workflow. The default Privacy Workflow, Default GDPR Delete Process will be applied to the Case. Select Tasks to view the various steps of the Workflow.

Note: If you have edited and updated the Default Workflow, the actions that you set will be applied to the Case. In the example below, the Default Workflow has not been edited, hence actions are applied at the Task level. |
The first Task is the Right to Access Case Approval.
You can change the status of the task to Approved as shown in the following image.

Once this Task is approved, the system will perform a backend search for all the data containing the Data Subject's profile information. Click Refresh. The next task will be displayed. Note that it may take a while for the next task to get displayed.

The next Task is to delete the Data Subject's user details. To do this, select the Task title - Please take appropriate delete action on the user data. Locate and click the Sprinklr icon as shown in the following image. A message - "I have performed the action Delete all profile data on the task" is displayed at the end of the screen.

After the Task has been marked as Complete as shown in the following image, you'll be able to download the Certificate. The certificate can be shared with the Data Subject to indicate that the information has been deleted from Sprinklr.

To download the certificate, hover over the Options icon
to the left of the Case and select Download Certificate.

