Add a Queue
Updated
Queues help you save time by automatically arranging inbound messages, suggestions, approvals, cases, and tasks. In this article, you will learn to create a Queue from the Platform Settings in order to assign various options to queues automatically.
Steps
Click the New Tab icon
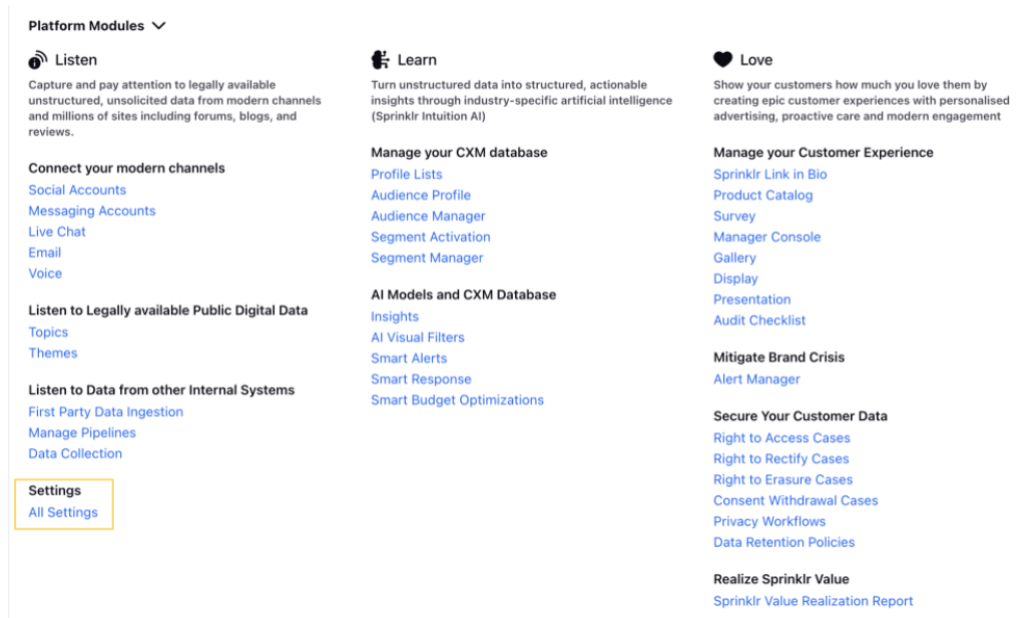
. Under Platform Modules, click All Settings within Listen.

In the Platform Settings window, click Manage Customer in the left pane and select Queues in the right pane

Upon clicking Queues, you will be taken to the Queues window. Click Add Queue in the top right corner.

In the New Queue creation form, enter the details. Here is description for the fields associated with this form:
Term | Description |
Name | Enter a queue name. |
Queue Type | Select the queue type from the drop-down menu. There are multiple options available for Queues. For more information, see Queues Types. |
Description | Enter a queue description. |
Subscribers | Select queue subscribers from the drop-down menu. You can select the Users or User Groups who will receive messages associated with this queue. |
Click Save in the bottom right corner to save your created queue.
Types of Queues
Queue Type | Description | Uses |
Inbound Messages | The queue contains Inbound Messages. | Segregate and store the content of inbound messages. You can engage and report on a particular content in the engagement dashboard. |
Suggestion | The queue contains content marked for a suggestion. | Segregate and store tasks created by you. You can suggest content for collaboration between different teams. |
Approval | The queue contains messages that require approval. | Segregate and store content that requires approval. |
Case | The queue stores various types of cases viewable within the Dashboards. | You can store cases and automate case management based on conditions that can be configured in the Rule Engine. |
Task | The queue contains tasks. | Segregate and store tasks. You can add users/user groups as subscribers to a task queue. |