Setting Up Salesforce Outbound Message Event Workflow in CFM
Updated
This guide provides step-by-step instructions for setting up a Salesforce Outbound Message Event Workflow in CFM. The event triggers when an outbound message is received and the specified flow conditions in Salesforce are met.
Introduction to Salesforce Outbound Message Event
The Salesforce Outbound Message Event allows businesses to automate various actions based on data received from Salesforce. Flow conditions might include events such as a case being closed or an opportunity being won. By leveraging this event, businesses can streamline processes such as triggering personalized survey distributions, updating customer profiles, creating transactions, or sending flags back to Salesforce.
Integration Between Salesforce and Sprinklr
The Salesforce outbound message is triggered by Salesforce’s Flows capability, and Sprinklr provides a callback URL to receive the message. This integration is facilitated using the Sprinklr Marketplace connector. To use this event, customers must have an active Salesforce account with the necessary features enabled and complete an external setup in Salesforce.
Key Features of Salesforce Outbound Message Event
Trigger Conditions
This event is triggered when the defined flow conditions in Salesforce are met and an outbound message is sent to Sprinklr.
Common Use Cases
Automatically trigger survey distributions or save data in Sprinklr when specific Salesforce conditions are met, such as a case closure.
Use Salesforce data as placeholders in surveys to create personalized customer experiences.
Automate actions in Sprinklr, such as updating or creating customer profiles and transactions based on Salesforce data.
Prerequisites
Before setting up the event workflow, ensure the following:
Your Salesforce account is connected to Sprinklr using the available connector.
The necessary Salesforce features are enabled.
You have created a Salesforce flow and configured the outbound message in Salesforce.
Steps to Set Up Salesforce Outbound Message Event Workflow
Follow these steps to setup Salesforce outbound message event workflow:
Step 1: Create a Survey
Before configuring the workflow, you must create a survey for use in the workflow.
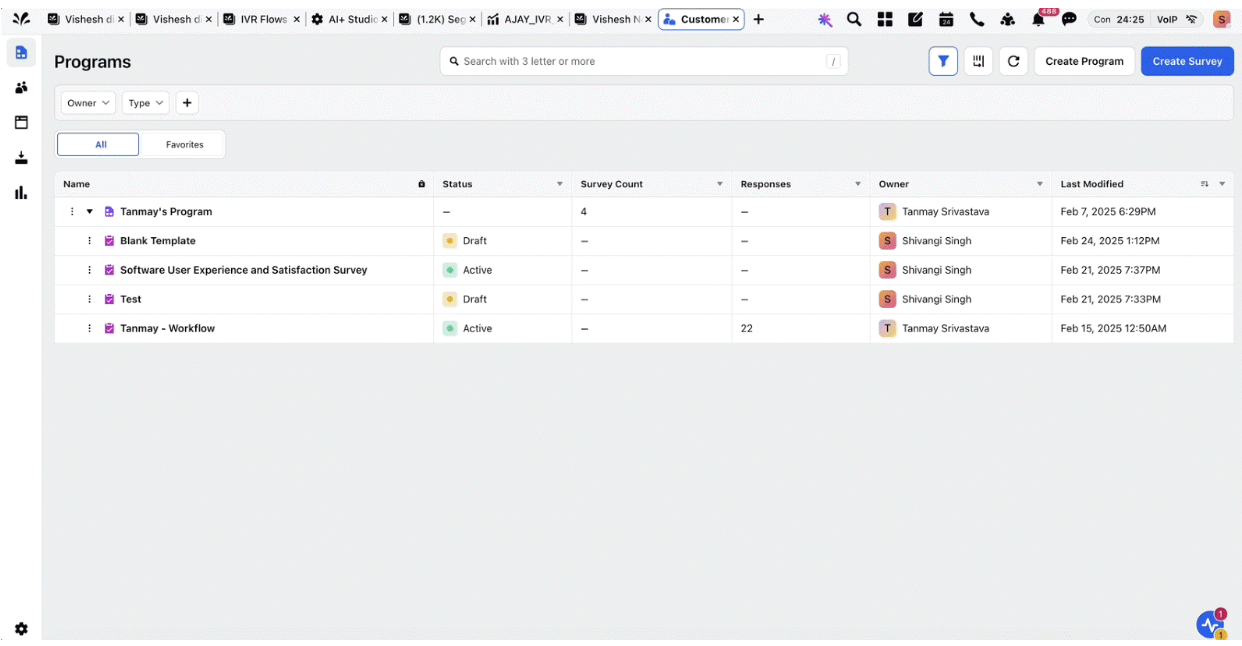
Access the CFM Persona App from Sprinklr Launchpad.
Under Programs, click Create Survey button.
You will be directed to the Survey Templates screen.
Create and publish a survey.
Alternatively, if you want to create a workflow under an existing survey:
Click the play interface icon to expand the existing surveys in a program.
Select the survey under which you want to create the workflow.

Note: When creating a workflow inside a project for the first time, you will encounter an empty state. If you have previously created workflows, a record manager will display all your existing workflows.
Step 2: Create a Workflow
Navigate to the Workflow tab.
Click the Create Workflow button.
On the Event Selection screen, select Salesforce Outbound Message and click Next.
Step 3: Enter Workflow Details
On the Workflow Details screen, provide the necessary input parameters:
Workflow Name: Enter a meaningful name for the workflow.
Description: Provide a brief description.
Start Workflow From: Specify the start date.
Run Workflow Until: Specify the end date.
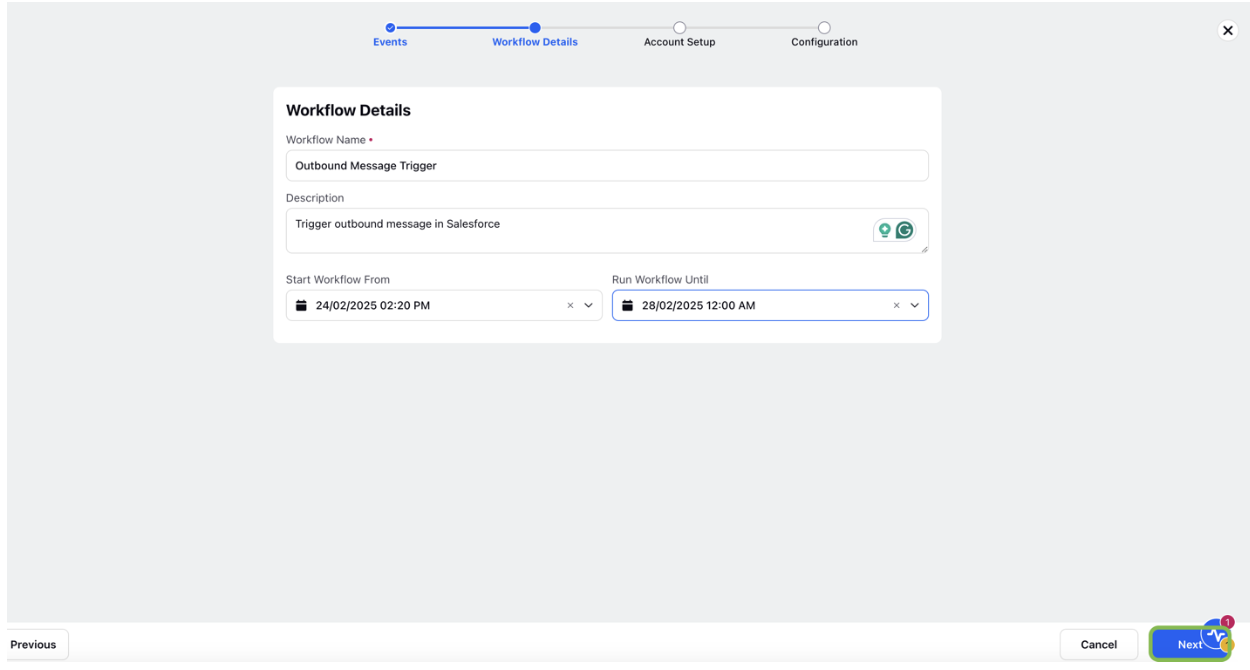
Click Next to save the workflow details.
Step 4: Configure Account Setup
On the Account Setup screen, select the Salesforce account to use for this event.
Once selected, the connector details for the Salesforce account will be displayed.
Note: Copy the Event Callback URL and store it securely, as you will need it later when configuring the outbound message in Salesforce. This URL enables Sprinklr to receive event data from Salesforce.
Click Next to save your account details.
Connect a New Salesforce Account from CFM
You can also connect a Salesforce account from CFM. Follow these steps to connect a new Salesforce account:
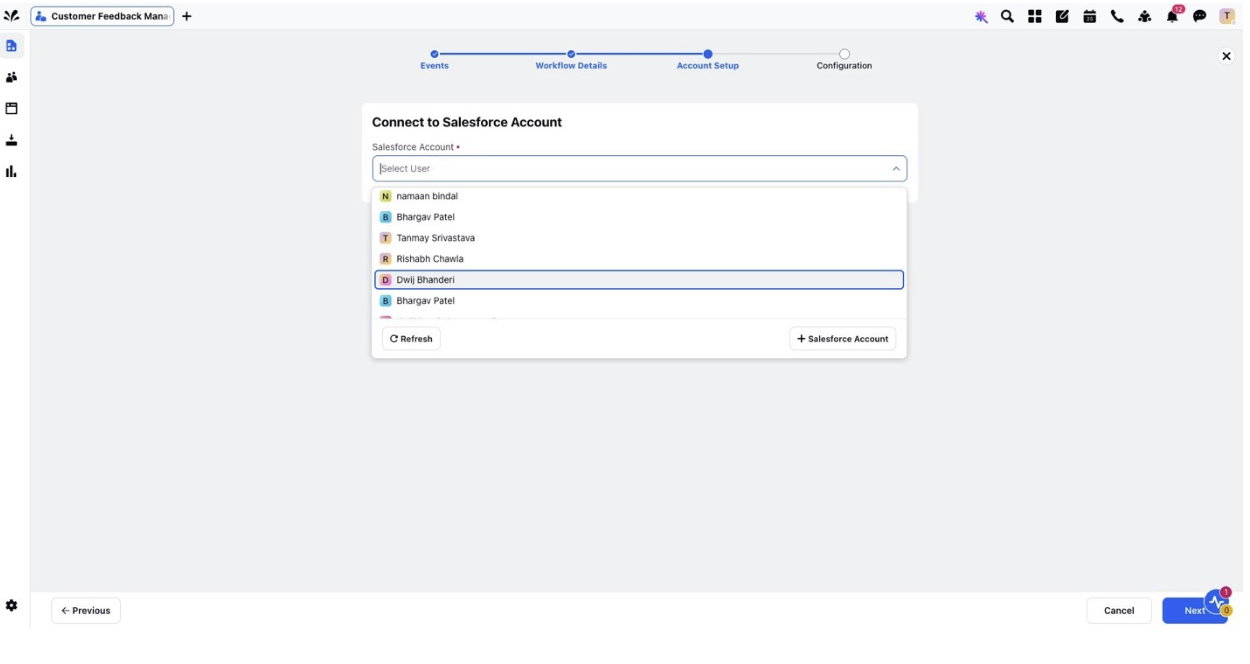
Click the ‘+ Salesforce Account’ button. A popup will appear, click ‘Save as Draft’ button to save your workflow.
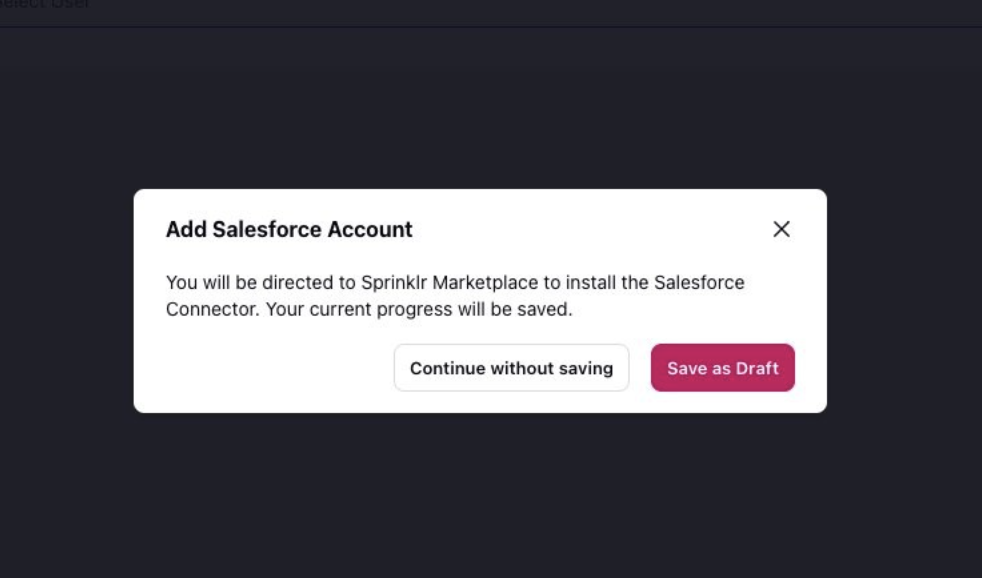
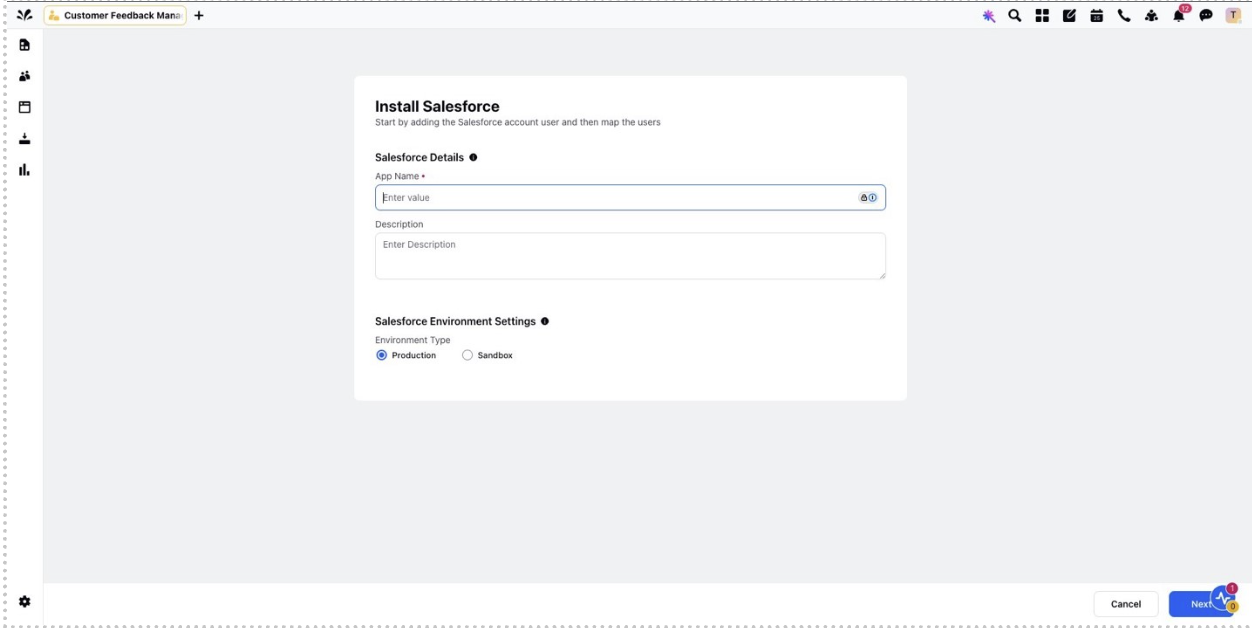
You will be redirected to Install Salesforce connector screen. Enter your app name and description and select the environment type. Click ‘Save’ to setup your connector.
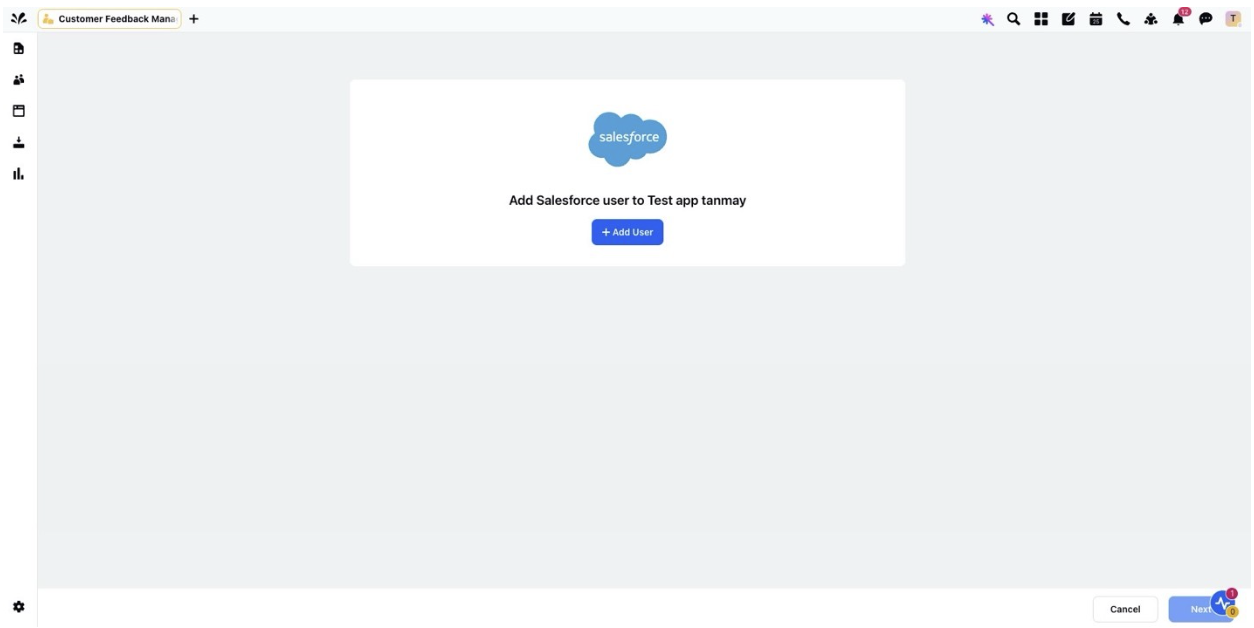
In the following screen, click the ‘Add User’ button to add Salesforce user.
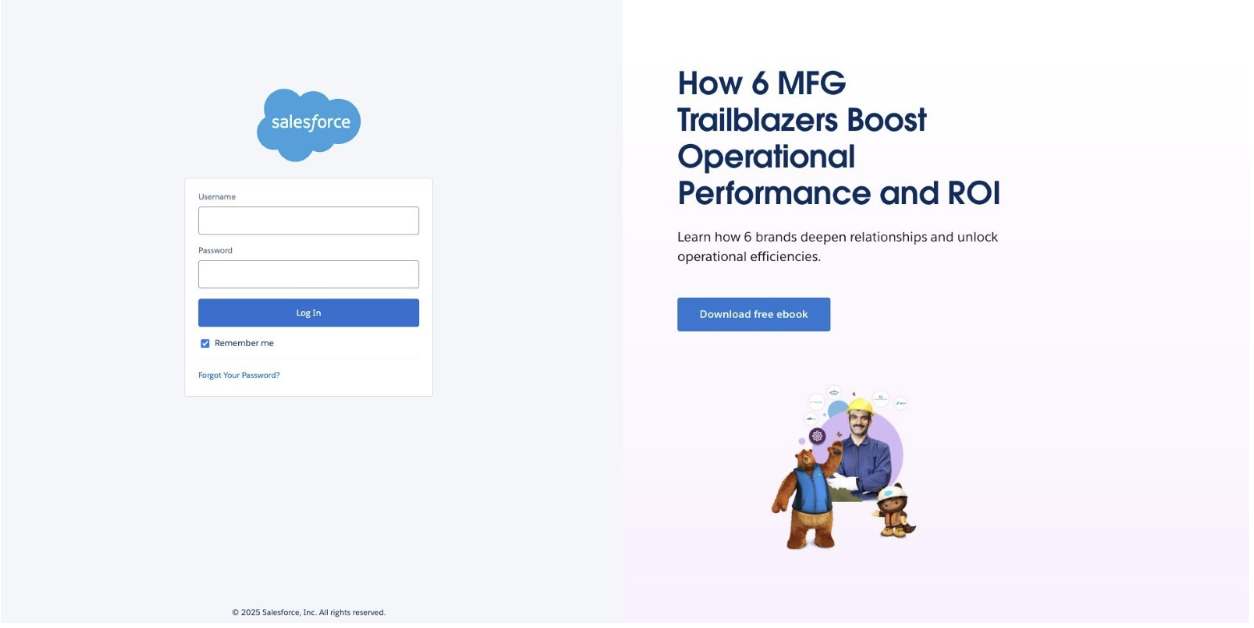
A Salesforce login window will popup. Login to your Salesforce account with your credentials.
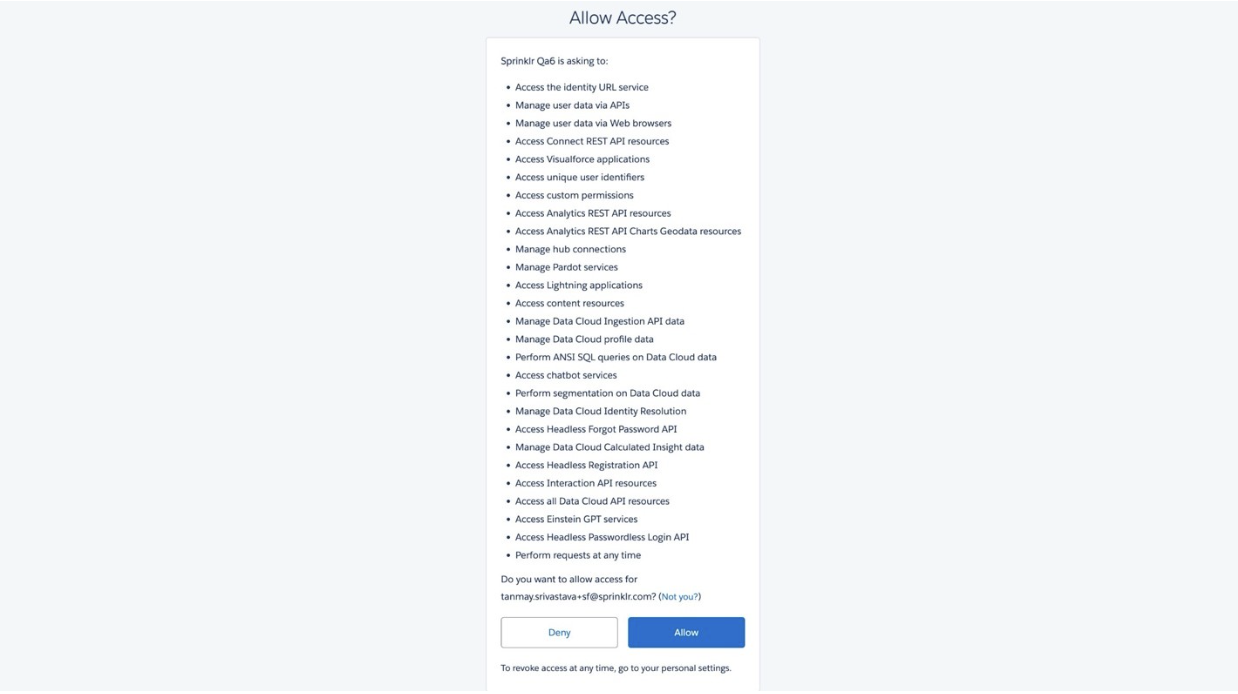
After successful login, Click ‘Allow’ button to grant access to the mentioned permissions.
Note: Sprinklr team is actively working to reduce the number of required permissions.
By following these steps, you can successfully connect a new Salesforce account with CFM.
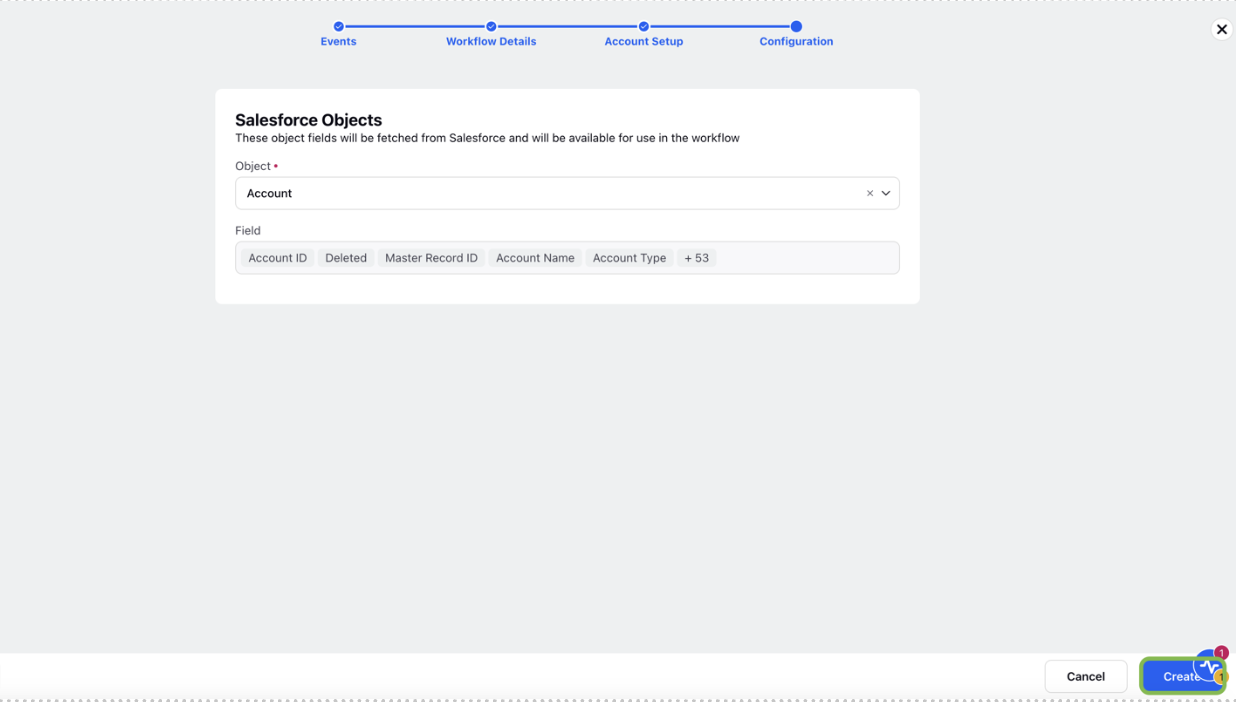
Step 5: Configure Salesforce Object Mapping
On the Configuration screen, select the Salesforce object to use in the workflow.
Click Create to complete the event setup.
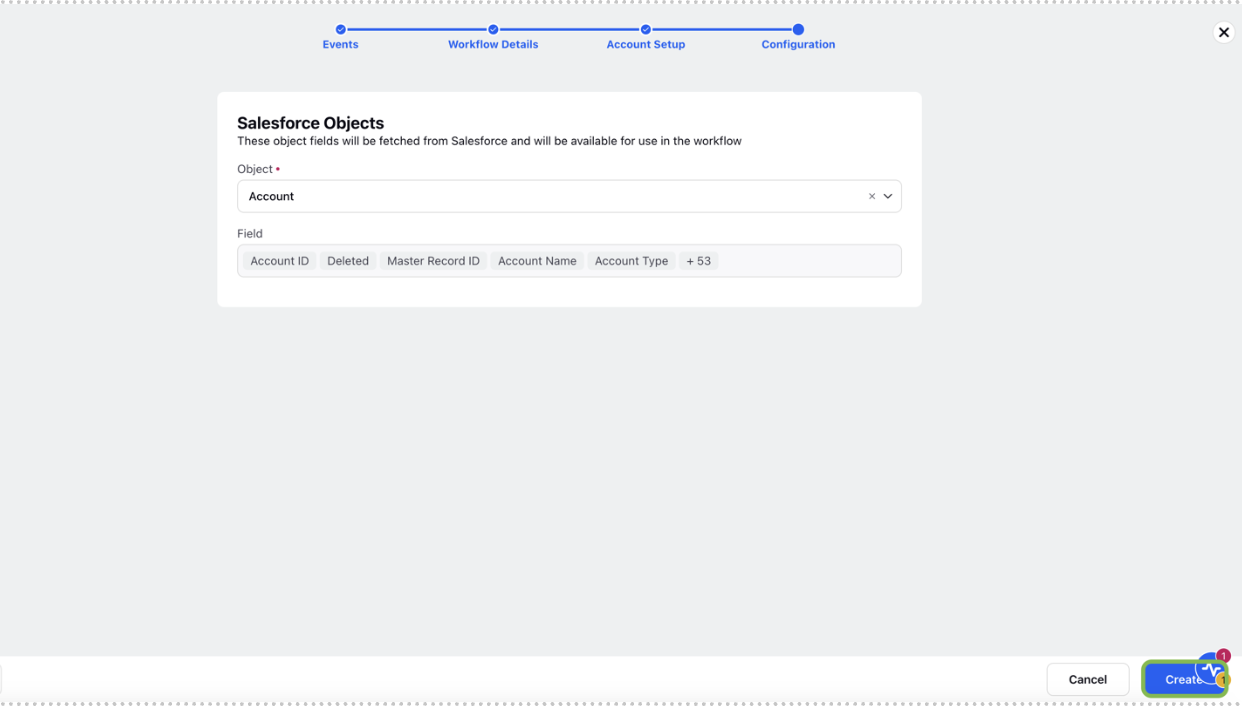
Step 6: Finalizing the Workflow
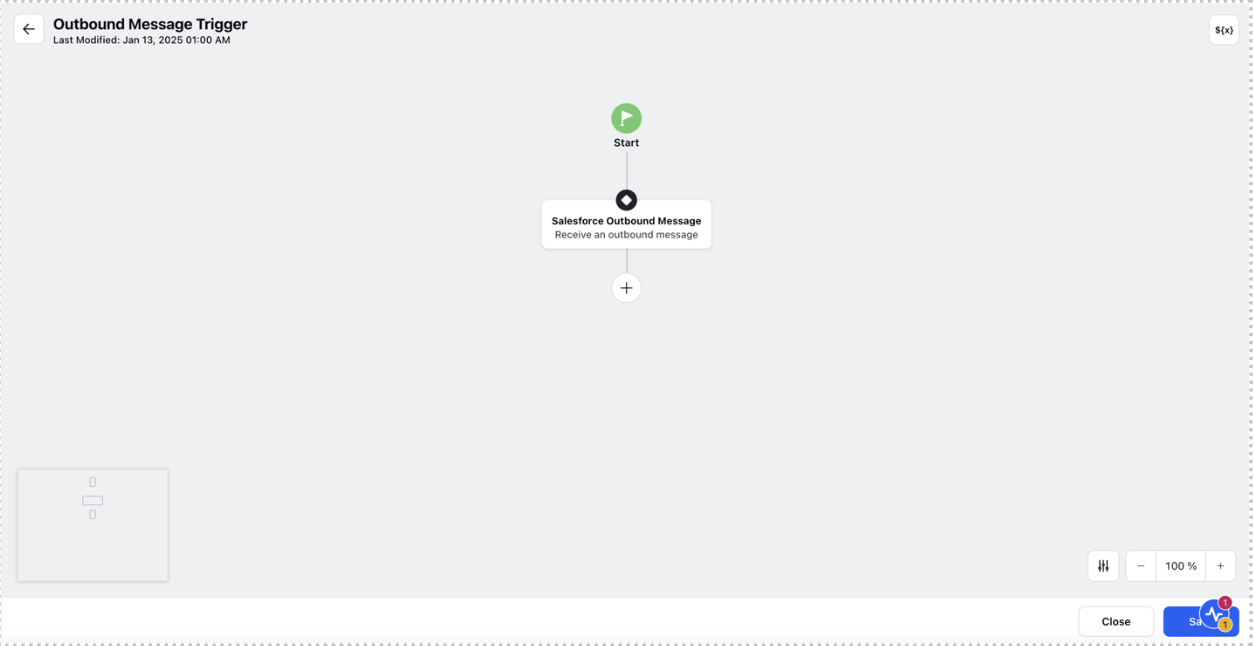
Once the event setup is completed, a confirmation message will appear verifying the successful creation of the workflow. You will then be directed to an empty workflow canvas where you can define actions and conditions such as creating a profile or a transaction entity and triggering a survey distribution, and syncing data back to salesforce.
Note: Syncing data back to salesforce can utilise the same account addition process, if required.
Set Up an Outbound Message in Salesforce
Follow these steps to configure an outbound message in Salesforce and integrate it with Sprinklr:
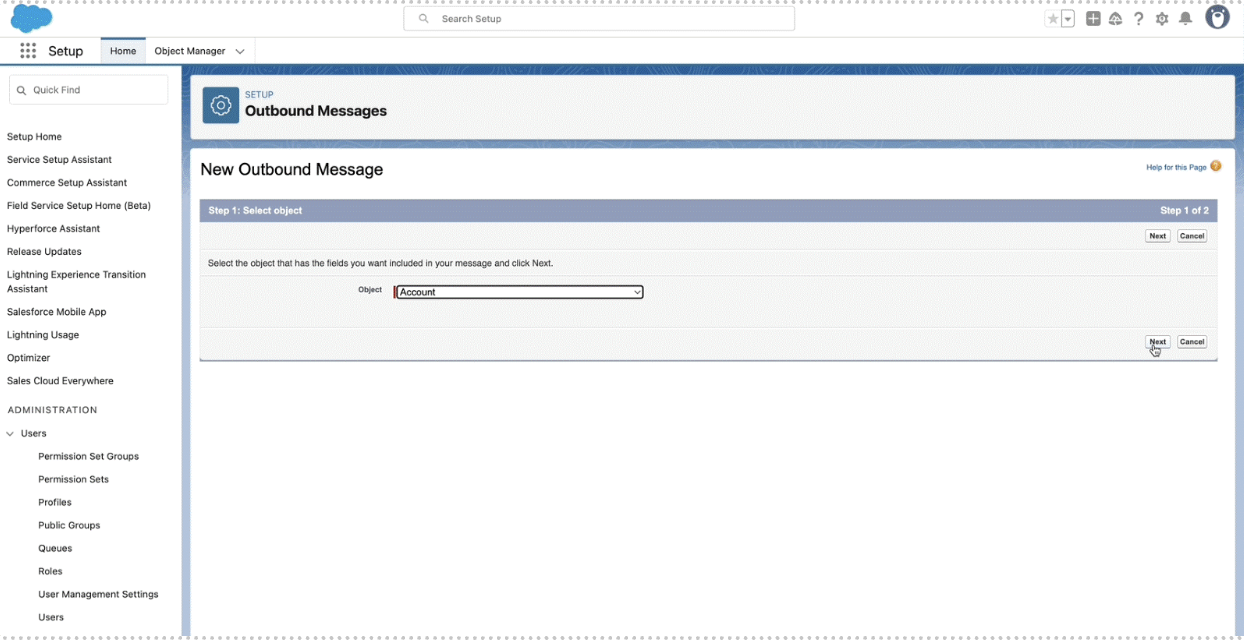
Log in to your Salesforce account.
Navigate to Setup > Outbound Messages.
Click the New Outbound Message button.
Select the Salesforce object that corresponds to the Sprinklr event setup, then click Next.
On the Configure Outbound Message screen:
Enter a Name and Description for the outbound message.
Select the fields you want to include in the message. (The available fields depend on the object type selected.)
In the Endpoint URL field, paste the Event Callback URL copied from Sprinklr.
Click Save to finalize the outbound message configuration.
Your outbound message is now set up and will trigger when the defined Salesforce conditions are met. You can use this outbound message in your Salesforce workflow as per your requirement.
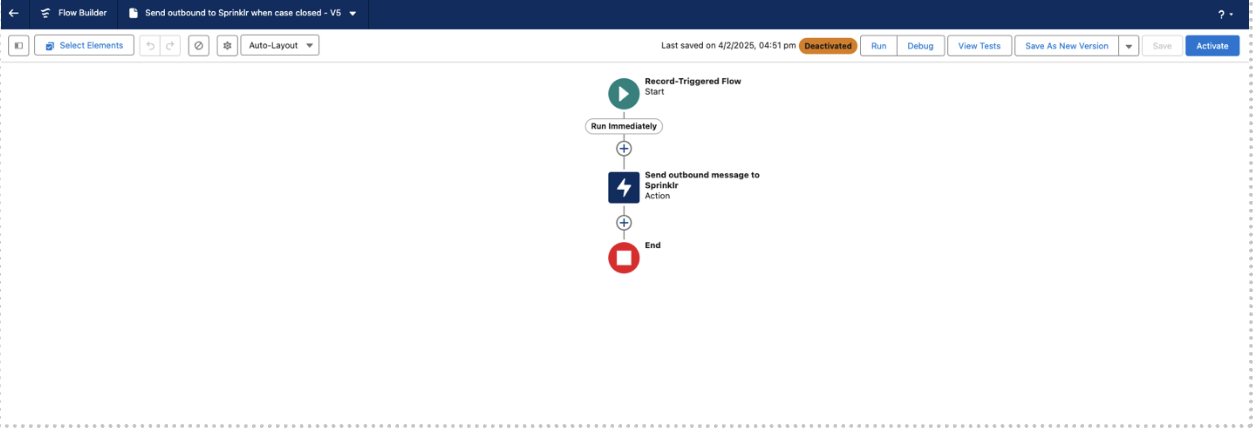
Refer to Salesforce Flow documentation for more details.
By following these steps, you can successfully integrate Salesforce with Sprinklr using the Outbound Message Event Workflow. This setup ensures seamless automation of customer interactions, enhancing efficiency and reducing manual effort.